
 Latest images
Abob89's 1991 Ford Escort
Page 1 of 3 • 1, 2, 3 ![]()
![]()
 Abob89's 1991 Ford Escort
![]() by ABob89 Sun Apr 15, 2012 2:28 am
by ABob89 Sun Apr 15, 2012 2:28 am
I've been lingering backstage on the forum for a while. I finally have most of my stuff ready to rock for my Escort. The car is a heap but I have it to destroy it.
Gear:
(4) Digital Designs 500 series 15" subs
(1) Digital Designs M2b sub amp
(2) Digital Designs VO-8 mid-bass drivers
(2) Digital Designs VO B2 tweeters
(1) Digital Designs SS4a 4 channel amp
(1) Stinger SPP925 primary battery
(1) Stinger SPP2250 back-up battery
(2) Stinger HPM 1/0AWG wire (50ft roll)
(6) IXOS Platinum mono cables
I haven't decided on a deck. I'm half waiting on the JVC KDX80bt. trip 4.8v pre-outs will be nice for a simple mechless radio.
I'll be going for a full wall. Numbers hunting is fun but a car that puts up a good show is more fun to me. So I'll be shooting for low and loud. I'm starting with the 500's cause they're fairly inexpensive at under $150 a piece. As time progresses I'll use DDs upgrade policy to go up to their 1500's when I'm ready.

ABob89- Posts : 71
Reputation : 0
Join date : 2011-10-12
Location : Vancouver WA -

![]()
![]()
Passenger Speakers
![]() by ABob89 Sun Apr 15, 2012 2:51 am
by ABob89 Sun Apr 15, 2012 2:51 am
But without further ado, I give you what you came for... the pics.

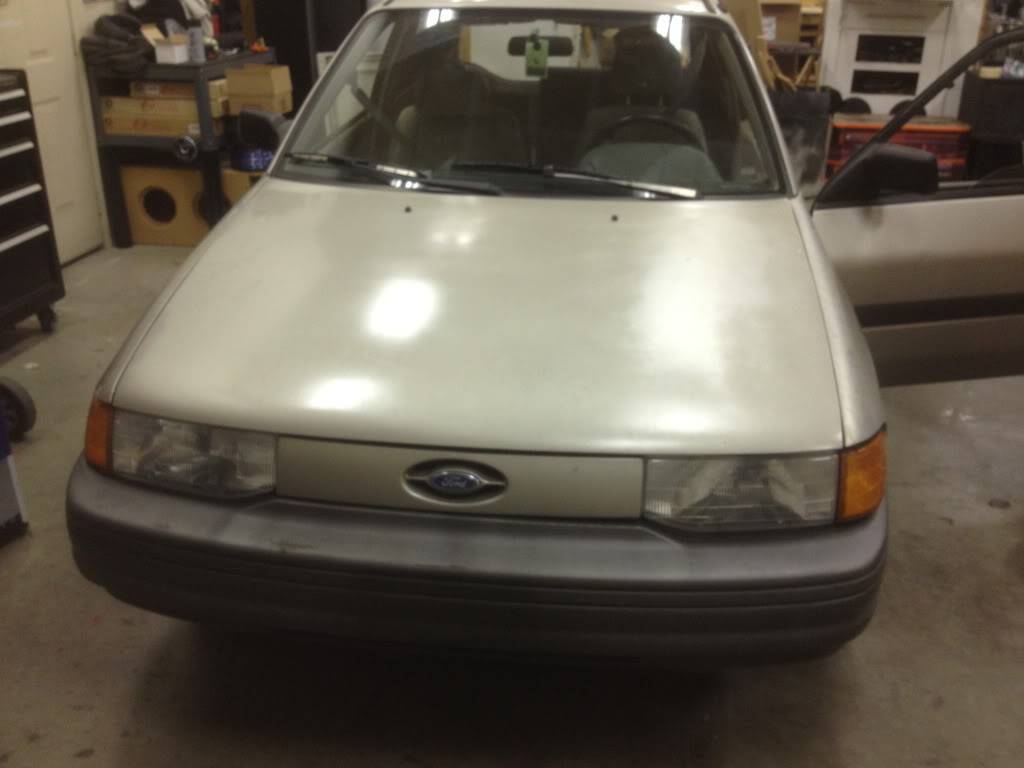
This is the almighty 1991 Ford Escort 2 door hatchback. 1.9l of fury... rawr

Here's the stock cargo area which will be gutted before too long.
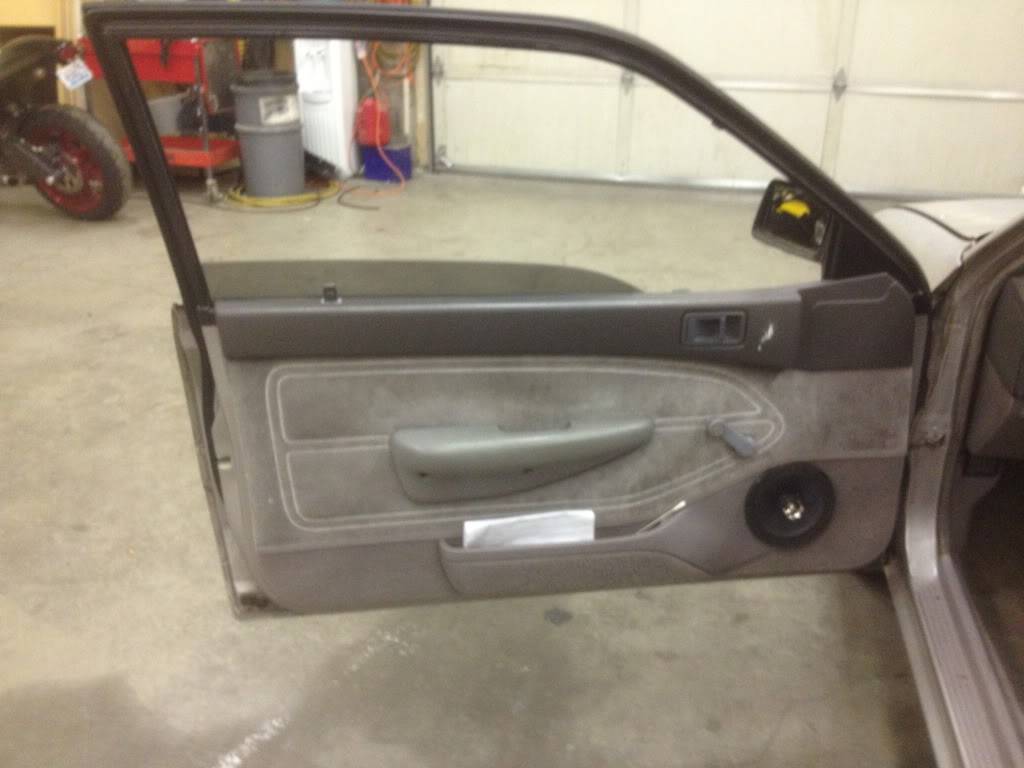
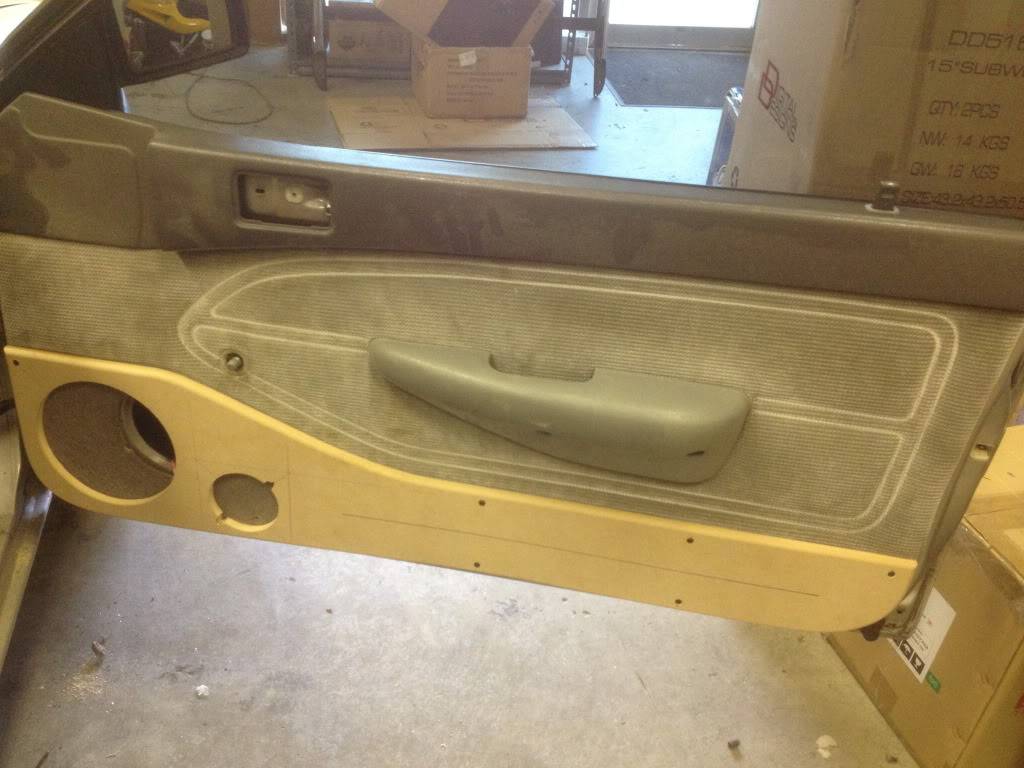
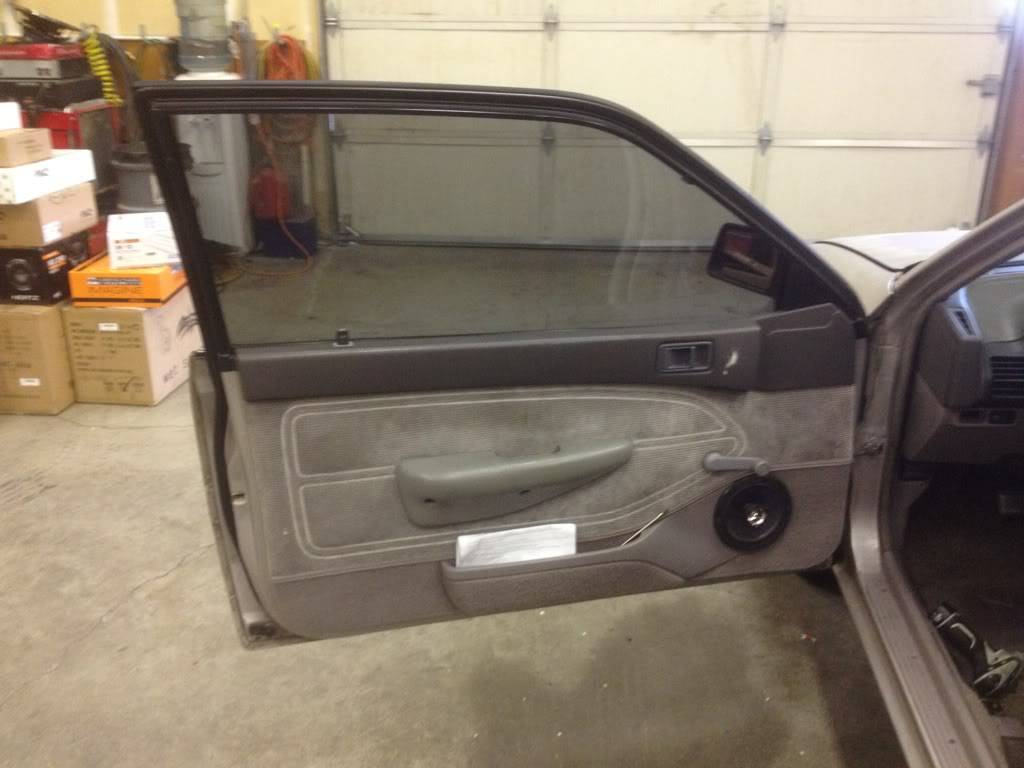
Here's my lame door...
So off with the passenger's door. Cut and mod the hell out of it and put some power locks in that bad boy. The factory driver is a low-profile undersized 6" driver that fits behind the factory cardboard panel. But enough of that nonsense. I'm gonna end up modding the window track to fit a big ass 8" PA driver and 3.5" tweeter.


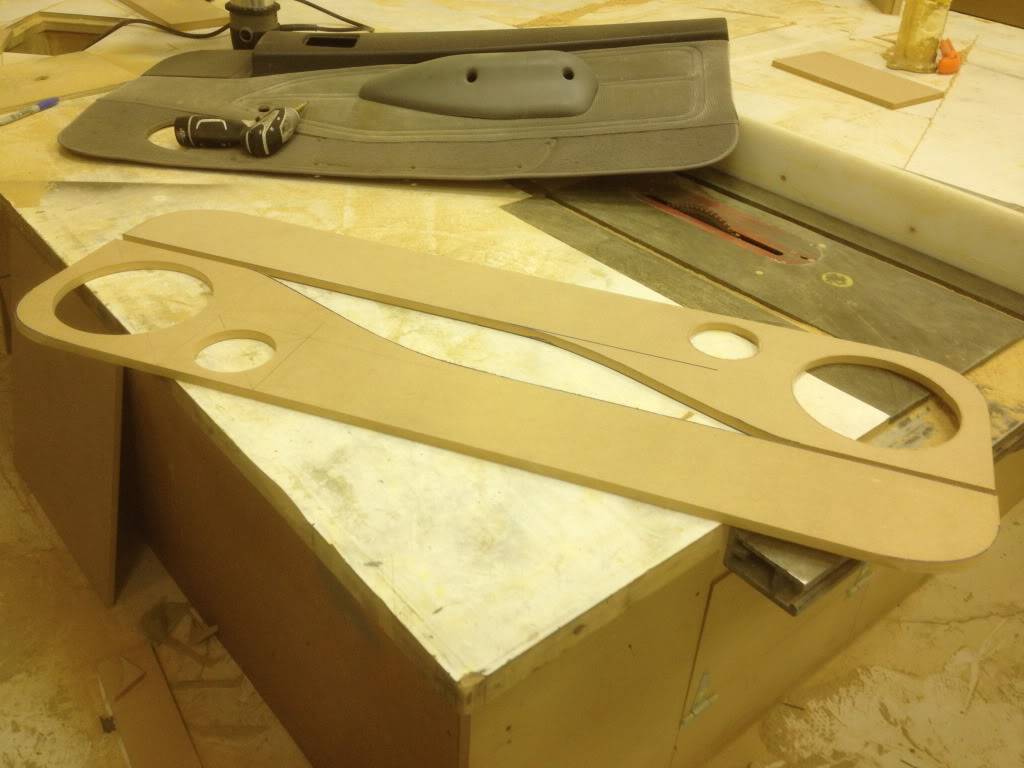
So the new panel will match the contour of the factory pocket. Hit that panel with a router to give it a nice 1/2" roundover and router the other to match.

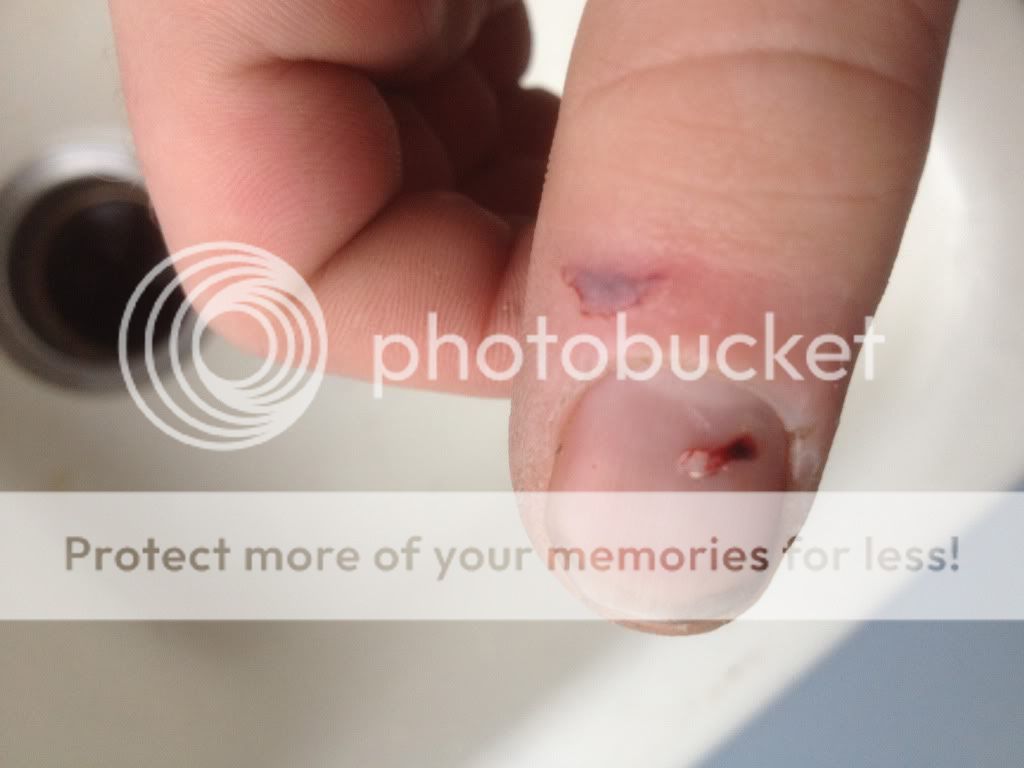
Oh and don't do this. Jigsaws are not meant to puncture your thumbnail.
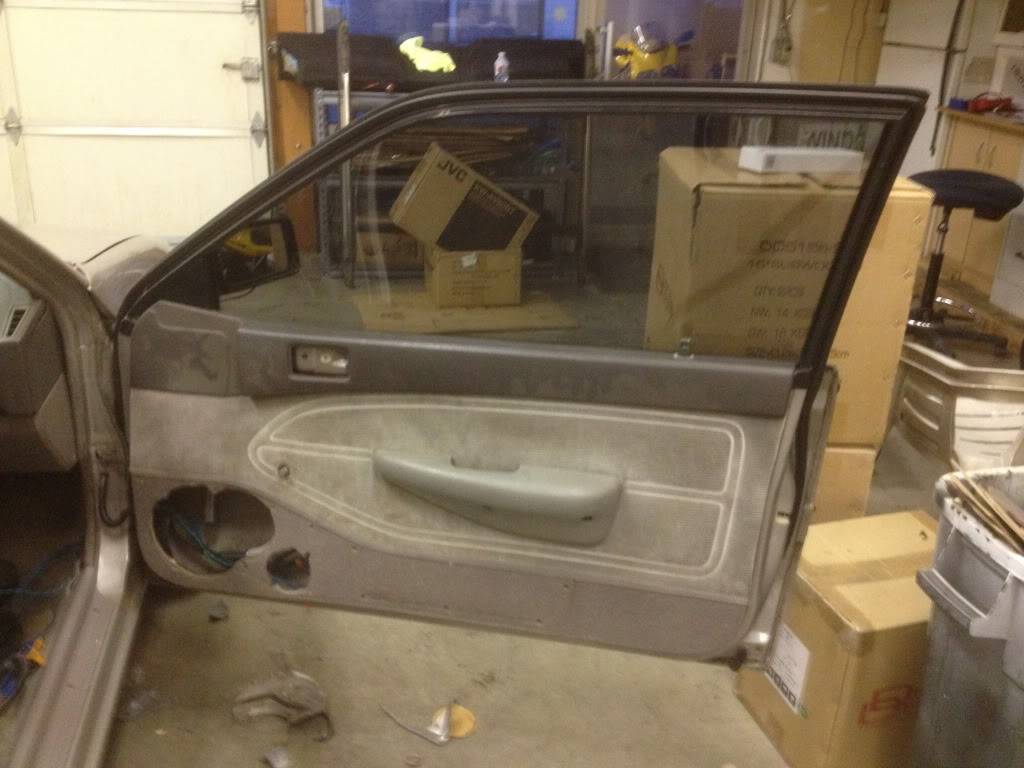
Test fitting the panel. I have also added my doorlock actuator at this time. Once the test fit to ensure the panels appearance and clearance in the door open and closed i get out my airsaw and get to hacking.

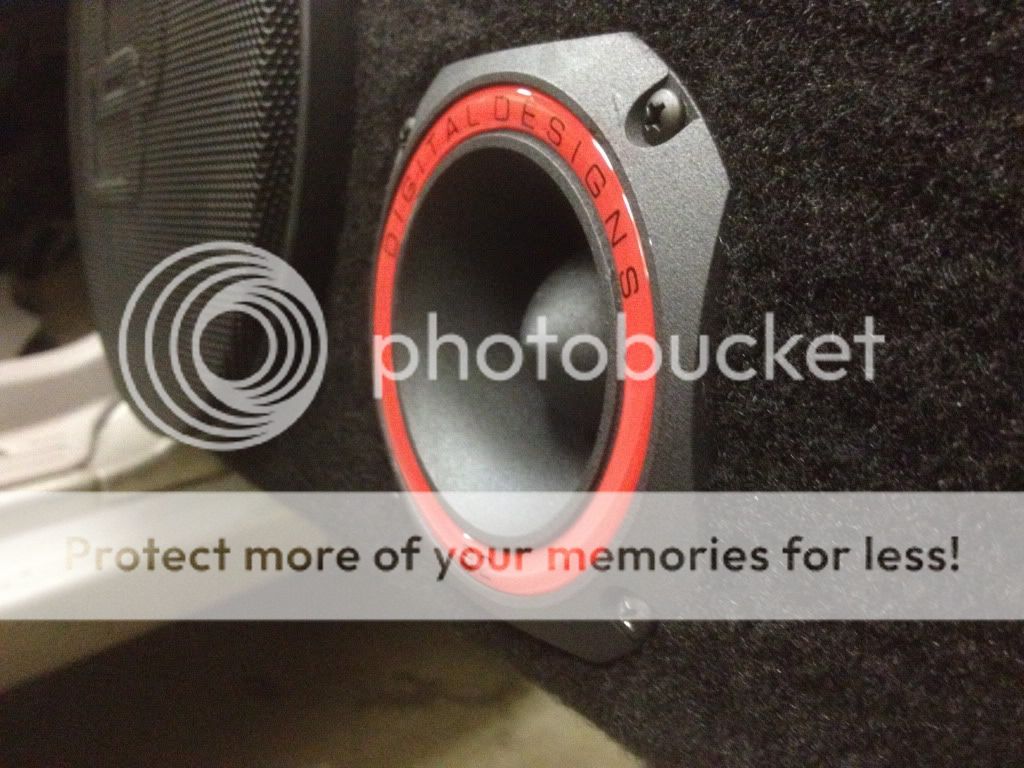
A glimpse of the carpetted panel. I was out of dirty brown


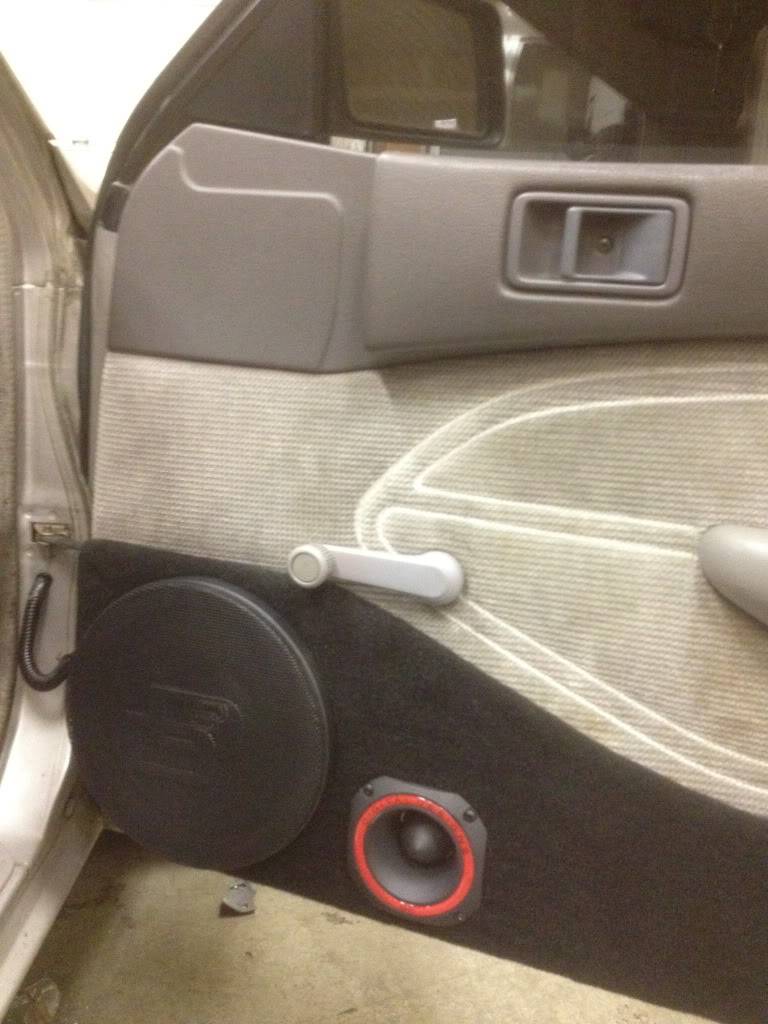
The finished product. that'll be enough for one night. Enjoy. More to come at a later date.
Oh and I'll see you folks at Lacey tomorrow.
ABob89- Posts : 71
Reputation : 0
Join date : 2011-10-12
Location : Vancouver WA -
![]()
![]()
Driver's door speaker
![]() by ABob89 Tue Apr 17, 2012 2:25 am
by ABob89 Tue Apr 17, 2012 2:25 am
I got the drivers door done this evening. So once again... a B2 and VO-8.


Initial impressions off of my little 20 watt Sony. The PA's aren't as harsh as some of the drivers I've heard in the past. I know placement has a lot to do with it, but I'm extremely happy that I can listen to it at a good volume without making my ears bleed. More to come in the next few days.
ABob89- Posts : 71
Reputation : 0
Join date : 2011-10-12
Location : Vancouver WA -
![]()
![]()
NoPh33rRaCiNg- Posts : 318
Reputation : 3
Join date : 2011-10-08
Age : 34
Location : Kent, WA
![]()
![]()
Re: Abob89's 1991 Ford Escort
![]() by Emery.H Tue Apr 17, 2012 12:16 pm
by Emery.H Tue Apr 17, 2012 12:16 pm

Emery.H- Posts : 371
Reputation : 5
Join date : 2012-01-27
Age : 33
Location : North Seattle
![]()
![]()
Re: Abob89's 1991 Ford Escort
![]() by ABob89 Tue Apr 17, 2012 1:43 pm
by ABob89 Tue Apr 17, 2012 1:43 pm
ABob89- Posts : 71
Reputation : 0
Join date : 2011-10-12
Location : Vancouver WA -
![]()
![]()
Stinger SPP925
![]() by ABob89 Wed Apr 25, 2012 12:32 pm
by ABob89 Wed Apr 25, 2012 12:32 pm
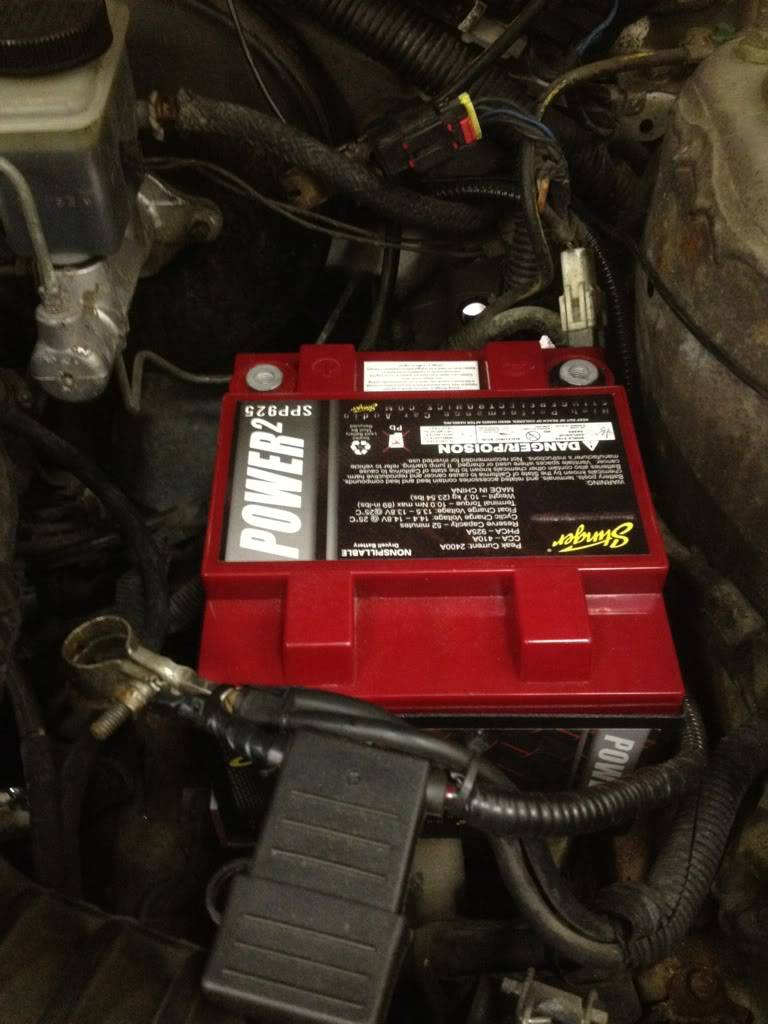
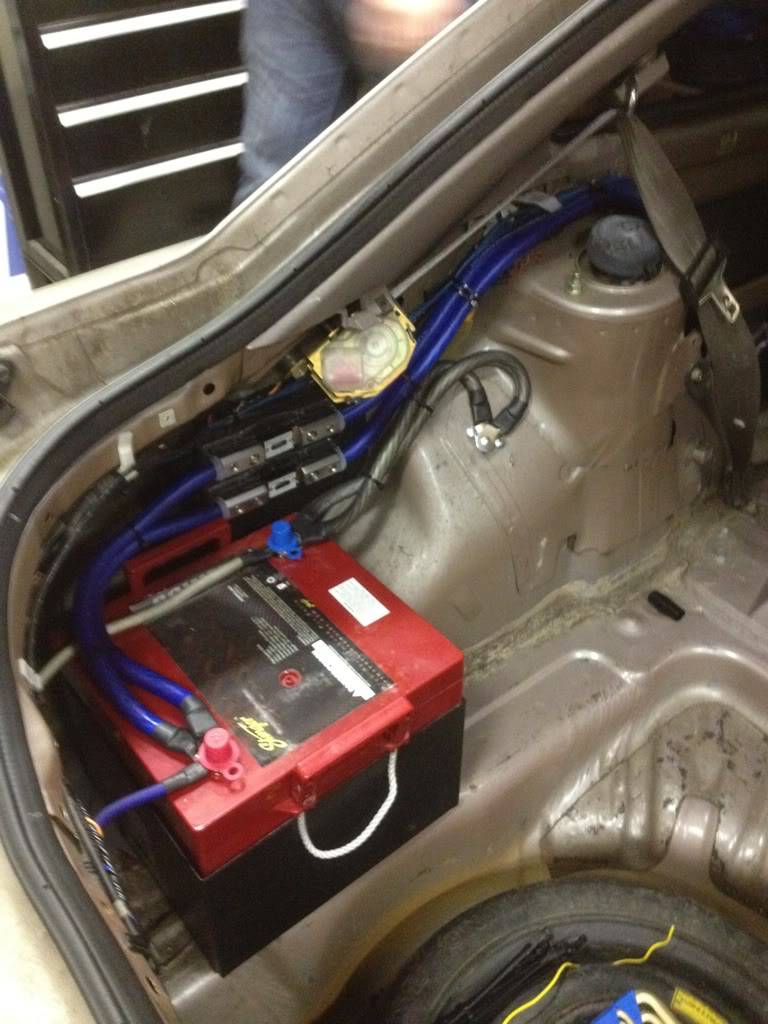
I got my primary battery up front. I feel kinda retarded... I ordered the wrong battery, 925 is smaller than what I have in lead-acid. But I have it so I might as well use it, it'll still be much better than the basic battery.
So I started with yanking the old battery and getting the nasty stock battery tray out.


So I then took my new battery and built an aluminum mount point using the post points on the factory motor mount location.


I'll post more tonight when time allows.
ABob89- Posts : 71
Reputation : 0
Join date : 2011-10-12
Location : Vancouver WA -
![]()
![]()
Re: Abob89's 1991 Ford Escort
![]() by Emery.H Wed Apr 25, 2012 2:08 pm
by Emery.H Wed Apr 25, 2012 2:08 pm
Emery.H- Posts : 371
Reputation : 5
Join date : 2012-01-27
Age : 33
Location : North Seattle
![]()
![]()

basshead92- Posts : 465
Reputation : 12
Join date : 2011-10-20
Age : 32
Location : Fall City, Washington
![]()
![]()
0Ga runs
![]() by ABob89 Thu Apr 26, 2012 1:10 am
by ABob89 Thu Apr 26, 2012 1:10 am
So i also have had a chance to gut the rear end of my car for good and I ran my ought gauge.

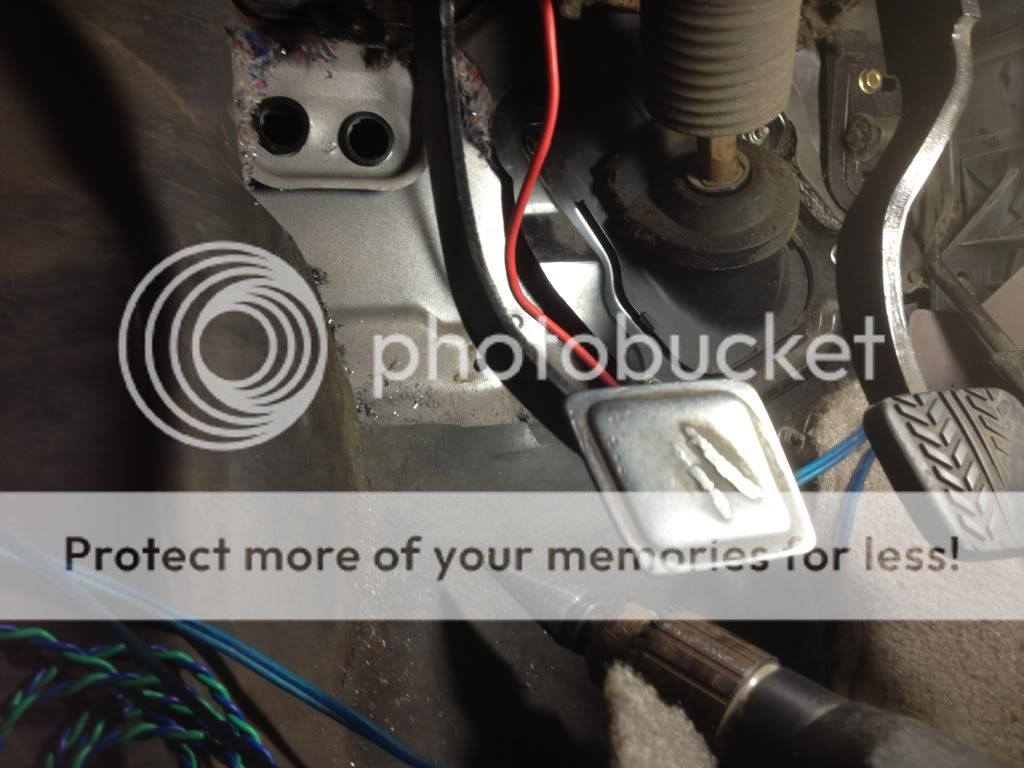
So... the firewall has some room for a system but Ford obviously never intended on people running multiple lines of 0Ga... inconsiderate bastards.
Long story short I had to bust out my 1/2" chuck corded drill and über unibits to get through the firewall. In my naivety i thought to myself... "hmmm my clutch pedal is in the way." So I ended up yanking it. I won't be doing that again. but this is the result.

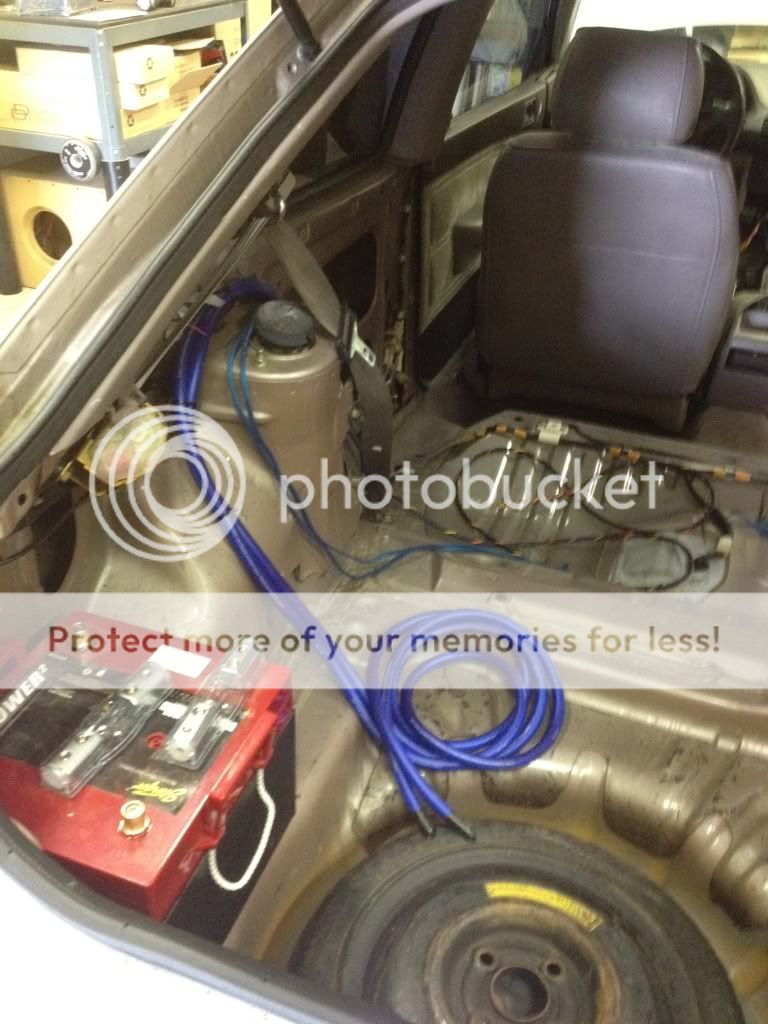
And then in goes the 2 runs of Stinger HPM Blue 1/0ga


I ran the 1/0 up over the strut with the factory harness cause I want to keep as much floor available to keep my width as good as possible for the wall.

Of course... more to come.
ABob89- Posts : 71
Reputation : 0
Join date : 2011-10-12
Location : Vancouver WA -
![]()
![]()
May 27th: RCA's
![]() by ABob89 Sun May 27, 2012 11:28 pm
by ABob89 Sun May 27, 2012 11:28 pm
To the pics

Mmmm Silver trace triple shielded IXOS mono cables.

Got six of 'em

I'm pretty sure the blister packaging was unnecesary...

Gott'em all together and labeled.

Into the factory radio location. Not anticipating breaking 150 yet so not real worried about having to bring the radio out of the car for comp.

These cables are massive and don't bend well so they're all held down by AC ducting tape. I put them down flat to keep down the mound in the carpet too.

Got the cables through the seat rail mounts and insulated the sharp edges with split loom to keep from creating creases or cuts in the shielding.

Running the wiring as flat as possible here also.

Running the cabling up the strut tower like the power wire was.

Finished wiring locations
I will be going into work tomorrow to get more done
ABob89- Posts : 71
Reputation : 0
Join date : 2011-10-12
Location : Vancouver WA -
![]()
![]()
05/28/12: Battery, Big 3, and SS4a (temp)
![]() by ABob89 Tue May 29, 2012 4:10 am
by ABob89 Tue May 29, 2012 4:10 am
Today was a major wiring day. I started it off with getting my big 3 finished.

1/0ga engine ground. The chassis ground is already in place at this point.

1/0ga alternator upgrading...

I feel a little funny putting a 1/0 run on a 75amp alternator, but dangit I'm gonna get all 75 amps!

Primary battery wiring's starting to get a little full. Gonna have to go bus bars if I go much bigger.

Once I had all the new engine bay work done it was time to take a look at the back.
The Stinger SPP2250 is a beast of a battery 80+ lbs of pure AGM goodness. At 5000+amps, 1150CCA, and 273min of reserve capacity on an ultra low ESR battery I don't think I'm gonna have too many issues with power back-up while running a single Digital Designs M2b.

I got all the fusing in once I mounted the battery to the trunk floor. The Stinger fuseblocks are mounted to another 1/8th inch ABS platform, much like the platform under the hood. Gives me a secure mounting area for the wiring to be organized. I will most likely have to expand on the current fusing in the future when my electrical needs exceed the capacity of 2 1/0 runs.

Fusing came together well. (2) 200 amp fuses in back and matching partners up front.
All my wiring is now run with factory wiring to try and keep is clean.

I have my Digital Designs SS4a in the passenger side in a temporary capacity for now. I need something to listen to. And I am much happier now. No more 20 watt amp lol.
Hoping to get a start on the wall this week.
Until next time
ABob89- Posts : 71
Reputation : 0
Join date : 2011-10-12
Location : Vancouver WA -
![]()
![]()
Re: Abob89's 1991 Ford Escort
![]() by RidnClean Tue May 29, 2012 1:19 pm
by RidnClean Tue May 29, 2012 1:19 pm
this is going to be one clean ass build.

RidnClean- Posts : 126
Reputation : 4
Join date : 2011-10-09
![]()
![]()
Re: Abob89's 1991 Ford Escort
![]() by mrd6 Tue May 29, 2012 3:46 pm
by mrd6 Tue May 29, 2012 3:46 pm

mrd6- Posts : 140
Reputation : 2
Join date : 2012-01-26
Age : 34
Location : seattle area
![]()
![]()
Re: Abob89's 1991 Ford Escort
![]() by basshead92 Tue May 29, 2012 5:30 pm
by basshead92 Tue May 29, 2012 5:30 pm
basshead92- Posts : 465
Reputation : 12
Join date : 2011-10-20
Age : 32
Location : Fall City, Washington
![]()
![]()
6/1/12 - Let the madness begin. WALL TIME!!!
![]() by ABob89 Sat Jun 02, 2012 4:03 am
by ABob89 Sat Jun 02, 2012 4:03 am
Got the wall rollin' today. Got finished at work then went off to lock myself away with the woodshop, the Escort and a couple litres o' cola.

I'm not messin' around on this bad boy. Goin' straight to the good stuff with 1" MDF!

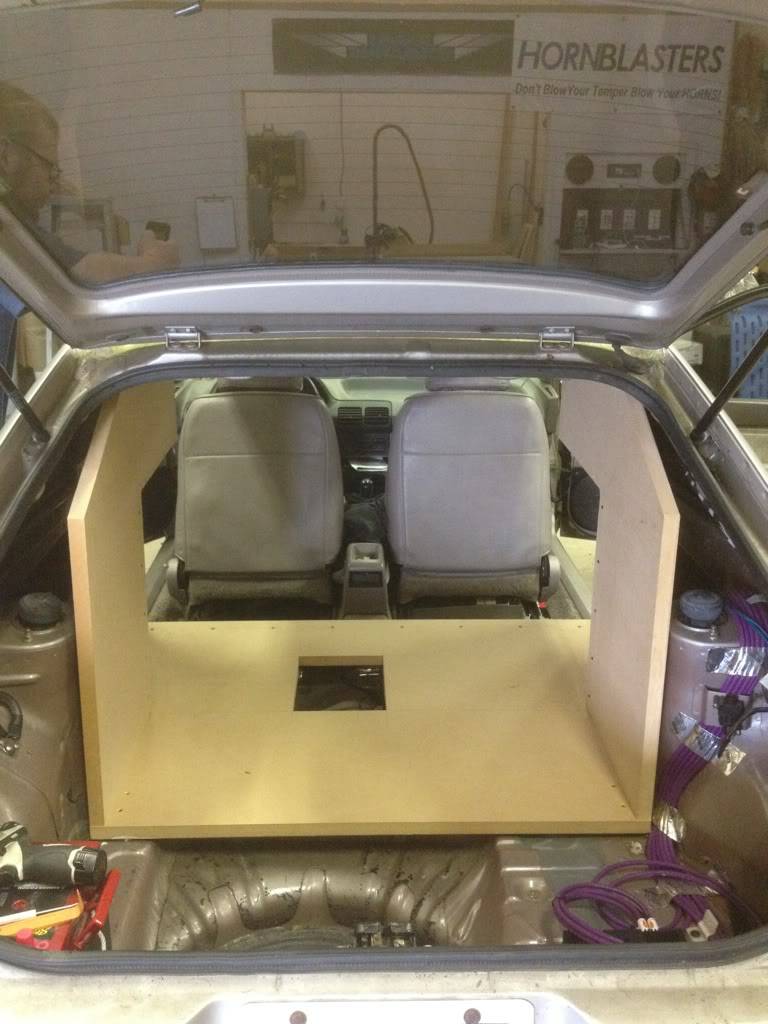
Get my template put together for the floor.

Building the front wider than the back, fits the car better and gives me more airspace to play with.

Cut the mystery hole out.

Test fit.
Tada! Yeah wanna keep this car pseudo serviceable... I bought it for $500 so, yeah once I get this wall in, it would be just my luck that the fuel pump dies hahaha.
Gotta space the floor up to make the wall floor flat.

Caulked the floor where the leveling plate was placed to keep it from rattling once it's screwed in. Also helps to seal it from moisture coming in.

Screwed into place.

Caulking between leveling plate and floor and also caulked the rear floor area where the floor is going to come into contact with the chassis floor.

Floor screwed and caulked into place.

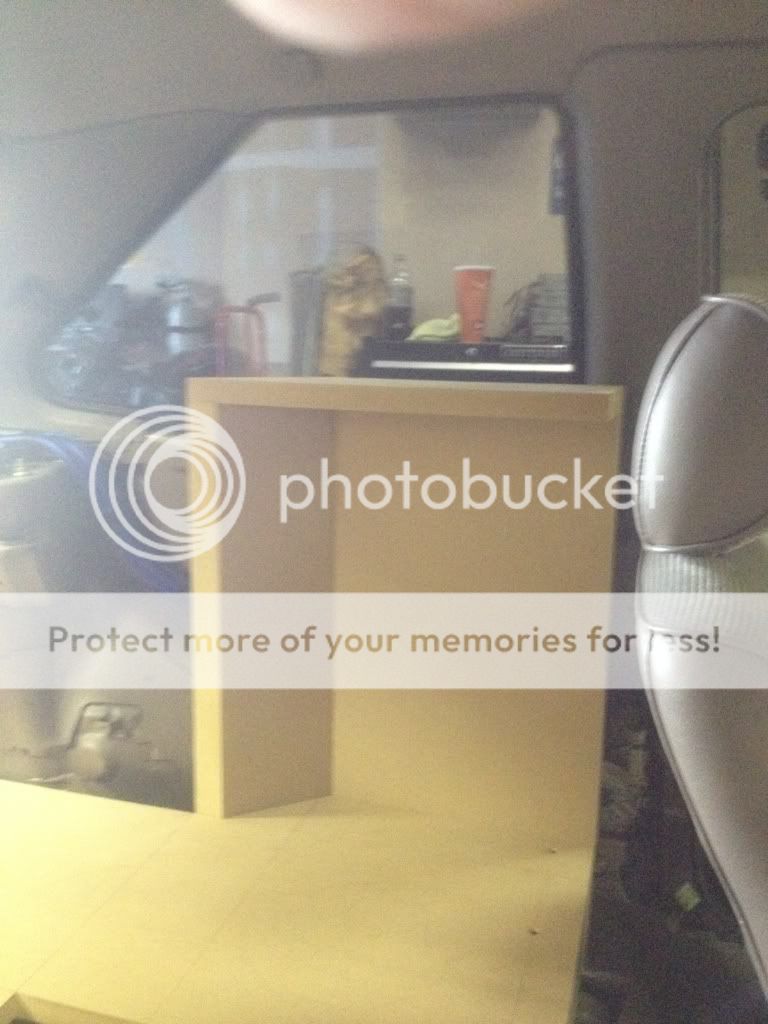
The enclosure if going to be made exclusively of 1". Here you can see the sides I'm playing with.

Passenger side here.
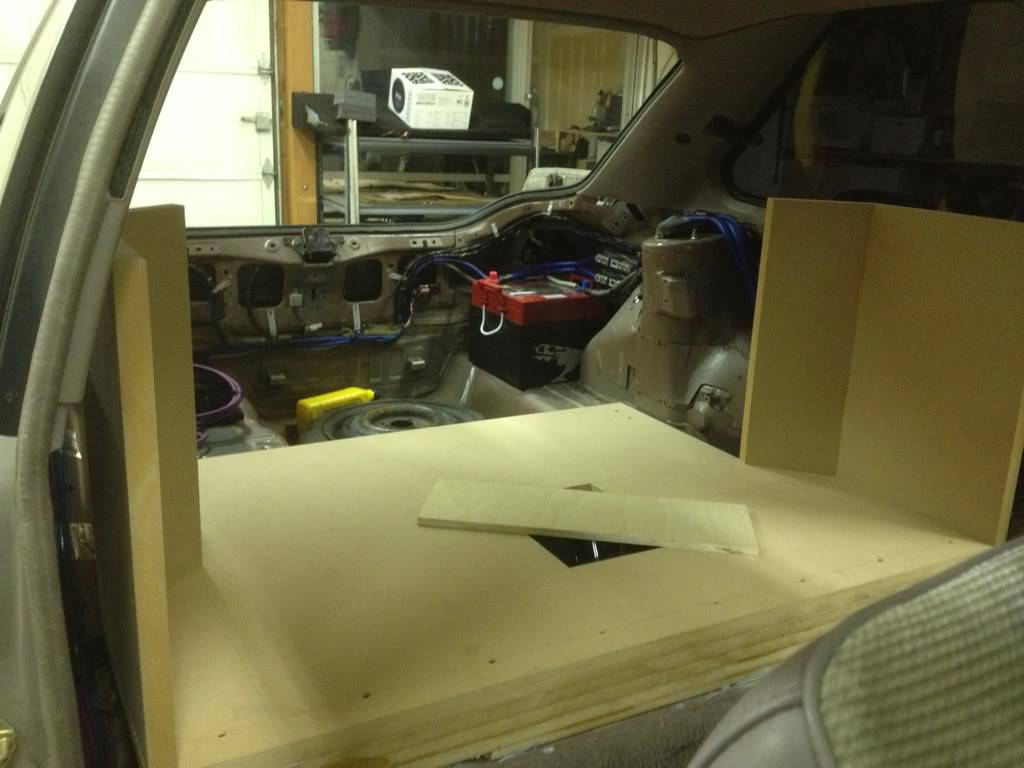
This is all I got to get done tonight. But you can start to see where it's going.
I'm hoping to get further this weekend. I was going to go to the SoundWerks show this weekend but I have nothing to show off yet and I'm not judging this weekend. Rest assured you guys will see me plenty this season.
Until next time.
ABob89- Posts : 71
Reputation : 0
Join date : 2011-10-12
Location : Vancouver WA -
![]()
![]()
RidnClean- Posts : 126
Reputation : 4
Join date : 2011-10-09
![]()
![]()
Re: Abob89's 1991 Ford Escort
![]() by basshead92 Sat Jun 02, 2012 10:19 pm
by basshead92 Sat Jun 02, 2012 10:19 pm
basshead92- Posts : 465
Reputation : 12
Join date : 2011-10-20
Age : 32
Location : Fall City, Washington
![]()
![]()
6/3/2012: The WALL pt 2.
![]() by ABob89 Mon Jun 04, 2012 4:38 am
by ABob89 Mon Jun 04, 2012 4:38 am
So instead of driving 4 hrs North to go to the SoundWerks show this weekend i decided to keep rockin' on the wall.
I have most of the back done. Still need to do the face and port but I have the vast majority of the space built.
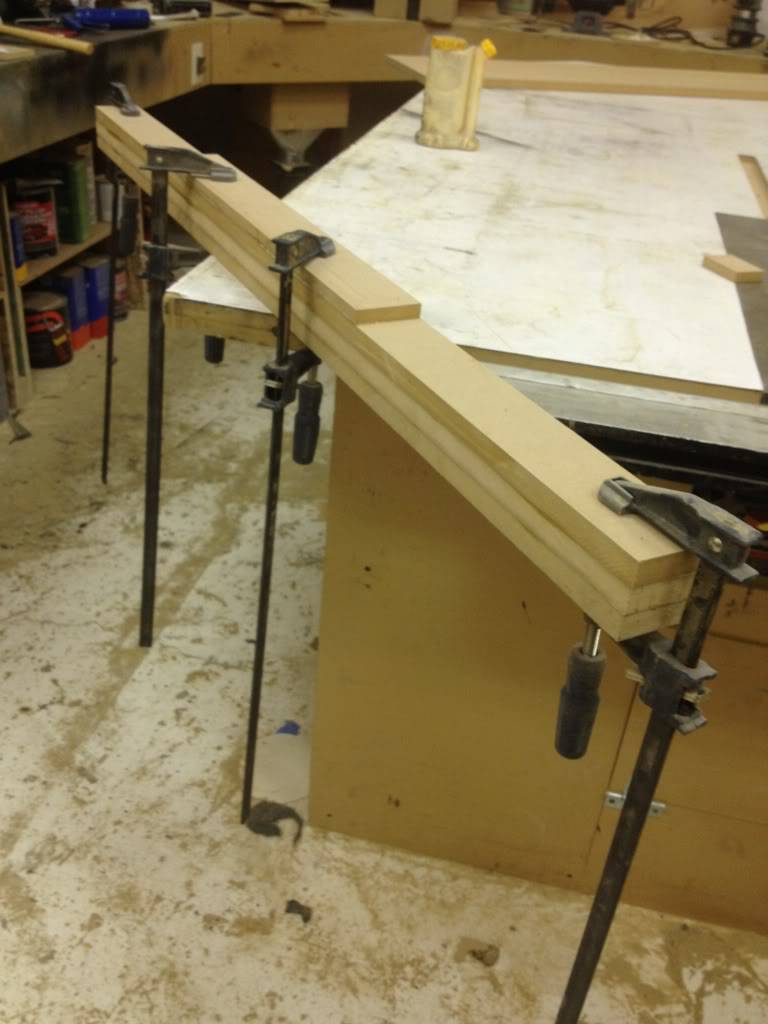
So I started off my build today with attaching toppers to the sides I built last time

Bot sides got finished, the 45 is definately gonna help promote airflow in the enclosure. Plus I'm gonna get more airspace out of it this way too

Got sides built so set the stage for the spine of the exclosure next.

Rounded over the corners and connected the sides to the pockets.

Test Fitting it in the car.

I had to trim the B-Pillar to make it fit. As long as I'm behind the B-Pillar with my mods I should be ok. Least I'm just trying to keep outta Ultimate.

Rinse and repeat with the driver's side.

Got the driver's side all connected and rounded.
Test fit both sides.

S'nice it really started to come together from here. Actually beginning to be able to see what my end product was gonna look like.

Test fitting a ceiling.

Getting ready to put the sides and top in. So I'm painting the outsides to keep them from being visible through the tint. I have 5% on the back end of the car so it'll keep people from seeing what I've got in the back now.

Mmm the all mighty CraigJig. Allows me to drill in pocket screw points. So for those of you wondering how I was planning on attaching the enclosure, this is it.

Glued and screwed in place.

Top view

I placed the angle on the back, I couldn't square off the back unfortunately... so the angle I suppose isnt too bad, again helps promote air flow.

Rear view.

And rear wall installed and glued screwed and all that good stuff.

Internal view.

Hopefully I'll have some time this week to get the guts in there and get a face on the wall. If I'm lucky I'll even get the back sealed off to elimate cancellation I'd inevitably have without sealing off the cargo area.
Until next time guys...
ABob89- Posts : 71
Reputation : 0
Join date : 2011-10-12
Location : Vancouver WA -
![]()
![]()
Re: Abob89's 1991 Ford Escort
![]() by mrd6 Mon Jun 04, 2012 2:03 pm
by mrd6 Mon Jun 04, 2012 2:03 pm
Are you planning on keeping the walls one layer thick with lots of bracing or are you putting a second layer in to strengthen it up a bit?
mrd6- Posts : 140
Reputation : 2
Join date : 2012-01-26
Age : 34
Location : seattle area
![]()
![]()

scionwithbass- Posts : 468
Reputation : 10
Join date : 2011-11-12
Age : 29
Location : Olympia -
![]()
![]()
Re: Abob89's 1991 Ford Escort
![]() by cnutt420 Mon Jun 04, 2012 8:02 pm
by cnutt420 Mon Jun 04, 2012 8:02 pm
cnutt420- Posts : 118
Reputation : 3
Join date : 2012-04-09
Age : 41
Location : moses lake
![]()
![]()
Re: Abob89's 1991 Ford Escort
![]() by ABob89 Mon Jun 04, 2012 10:45 pm
by ABob89 Mon Jun 04, 2012 10:45 pm
ScionWithBass: Thanks man, I'm just trying to build a nice clean Spl car. I'm very pleased with the outcome so far.
CNut420: I'm most likely going to get a 1/4 or 3/8 piece of steel and gasketing it to the floor and then bolting it down.
ABob89- Posts : 71
Reputation : 0
Join date : 2011-10-12
Location : Vancouver WA -
![]()
![]()
Re: Abob89's 1991 Ford Escort
![]() by mrd6 Mon Jun 04, 2012 11:32 pm
by mrd6 Mon Jun 04, 2012 11:32 pm
mrd6- Posts : 140
Reputation : 2
Join date : 2012-01-26
Age : 34
Location : seattle area
![]()
![]()
Re: Abob89's 1991 Ford Escort
![]() by basshead92 Tue Jun 05, 2012 12:52 am
by basshead92 Tue Jun 05, 2012 12:52 am
basshead92- Posts : 465
Reputation : 12
Join date : 2011-10-20
Age : 32
Location : Fall City, Washington
![]()
![]()
Page 1 of 3 • 1, 2, 3 ![]()
![]()

 Similar topics
» Elizabeths 2008 Ford Edge Sundown Build
» Here's a video of Davids Ford Exploder ! check it out ! watch it in HD !
» May 17th Corvallis OR show at Audiofiles- Jerry's Ford Fiesta - 2 AB HD 12s - DD Z-SE
» here is a Preview video of ben akins ford explorer sport with 12 12's in a 4th order !
|
|
|