
 Latest images
Abob89's 1991 Ford Escort
Page 2 of 3 • ![]() 1, 2, 3
1, 2, 3 ![]()
![]()
 6-4-12: Small Update...
![]() by ABob89 Tue Jun 05, 2012 3:59 am
by ABob89 Tue Jun 05, 2012 3:59 am
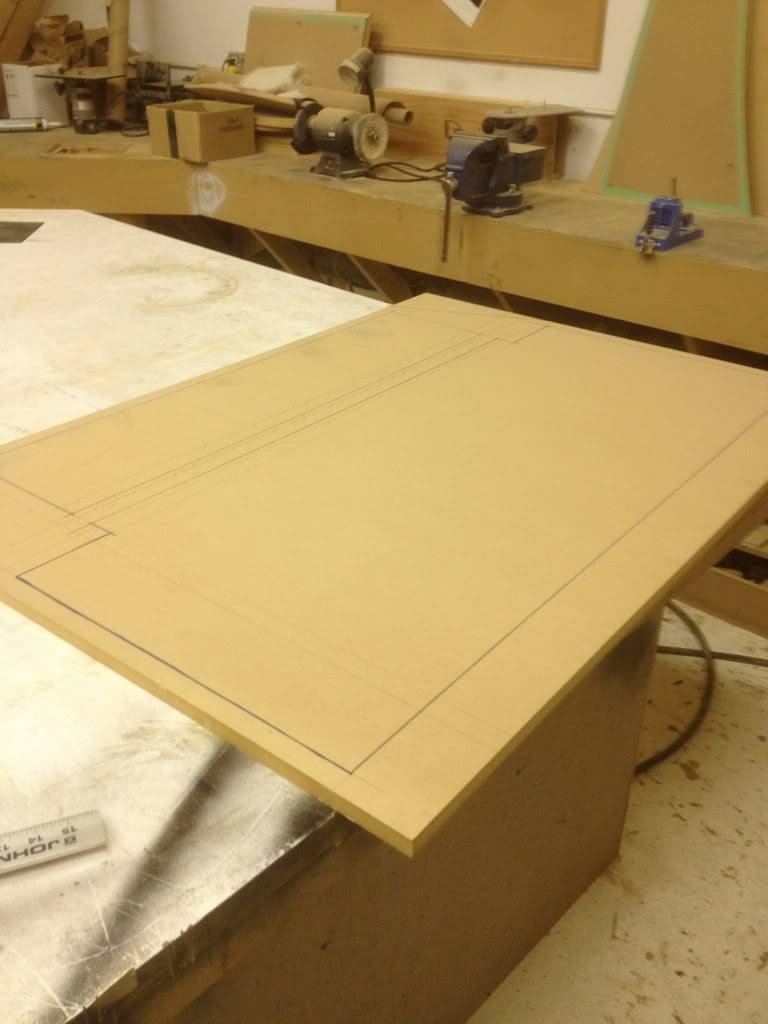
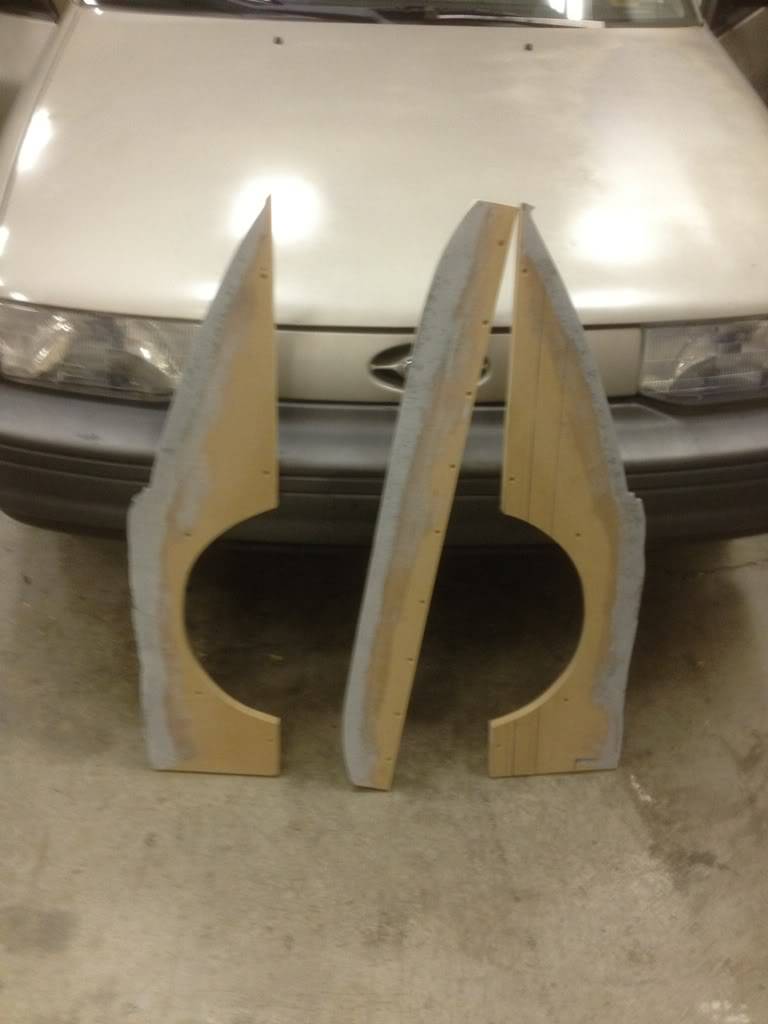
Working on mocking up a face.
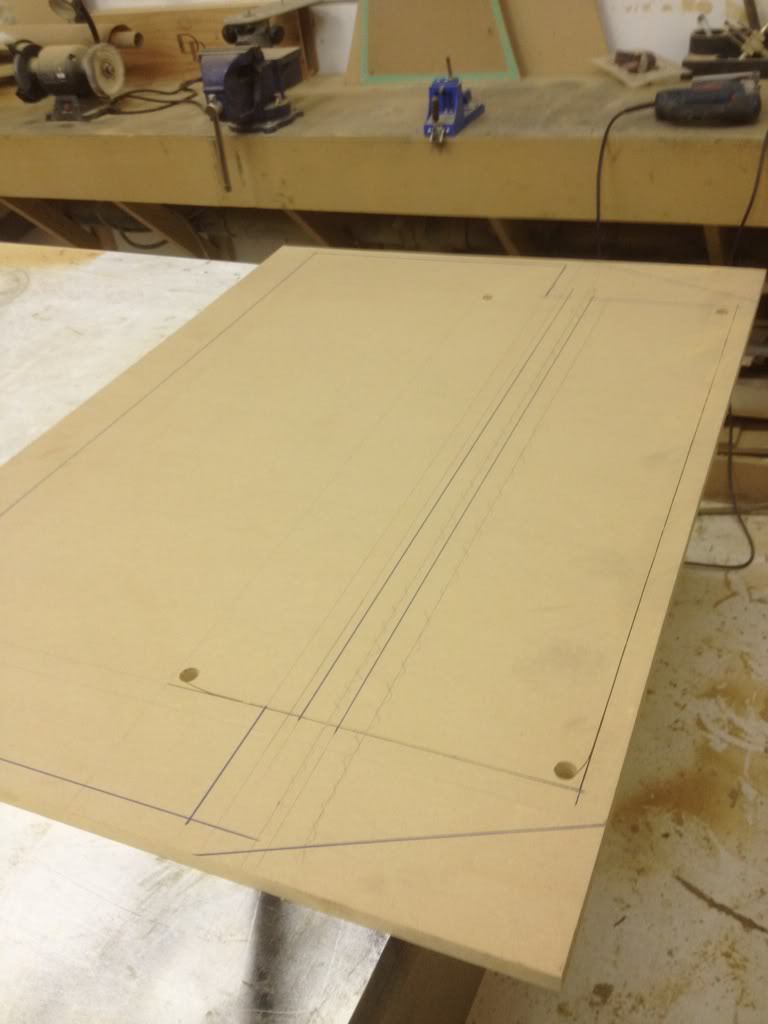
Cutting up the face.
This is where I get into some uncharted territory, I haven't messed around with compound loading much. the pseudo horned port is the only way I can reliably align the woofers and still get a good load on the subs. Alas I do not have the algorithms for tapped horn set-ups. So this is going to remain VERY serviceable. I will undoubtedly need to re build the port to nail down tuning and loading. But that will come with time and lots of hot seat time.
On the fun side. Heads in port = good air movement
None of it is set in stone yet, this is all mock up currently. I would appreciate any insight from those who have messed with compound loading or horn loading too. Since this portion of the build is partially experimental any words of wisdom are very welcome.
More to come in a few days, thanks again.

ABob89- Posts : 71
Reputation : 0
Join date : 2011-10-12
Location : Vancouver WA -

![]()
![]()
Re: Abob89's 1991 Ford Escort
![]() by RidnClean Thu Jun 07, 2012 9:02 am
by RidnClean Thu Jun 07, 2012 9:02 am

RidnClean- Posts : 126
Reputation : 4
Join date : 2011-10-09
![]()
![]()
Re: Abob89's 1991 Ford Escort
![]() by ABob89 Thu Jun 07, 2012 12:29 pm
by ABob89 Thu Jun 07, 2012 12:29 pm
ABob89- Posts : 71
Reputation : 0
Join date : 2011-10-12
Location : Vancouver WA -
![]()
![]()
6-11-12 update time!!!
![]() by ABob89 Mon Jun 11, 2012 12:32 pm
by ABob89 Mon Jun 11, 2012 12:32 pm
Teaser pic:

ABob89- Posts : 71
Reputation : 0
Join date : 2011-10-12
Location : Vancouver WA -
![]()
![]()

basshead92- Posts : 465
Reputation : 12
Join date : 2011-10-20
Age : 32
Location : Fall City, Washington
![]()
![]()
Re: Abob89's 1991 Ford Escort
![]() by Emery.H Tue Jun 12, 2012 1:21 am
by Emery.H Tue Jun 12, 2012 1:21 am

Emery.H- Posts : 371
Reputation : 5
Join date : 2012-01-27
Age : 33
Location : North Seattle
![]()
![]()
6-12-12: BIG update, box assembled.
![]() by ABob89 Tue Jun 12, 2012 3:00 pm
by ABob89 Tue Jun 12, 2012 3:00 pm
PICS...
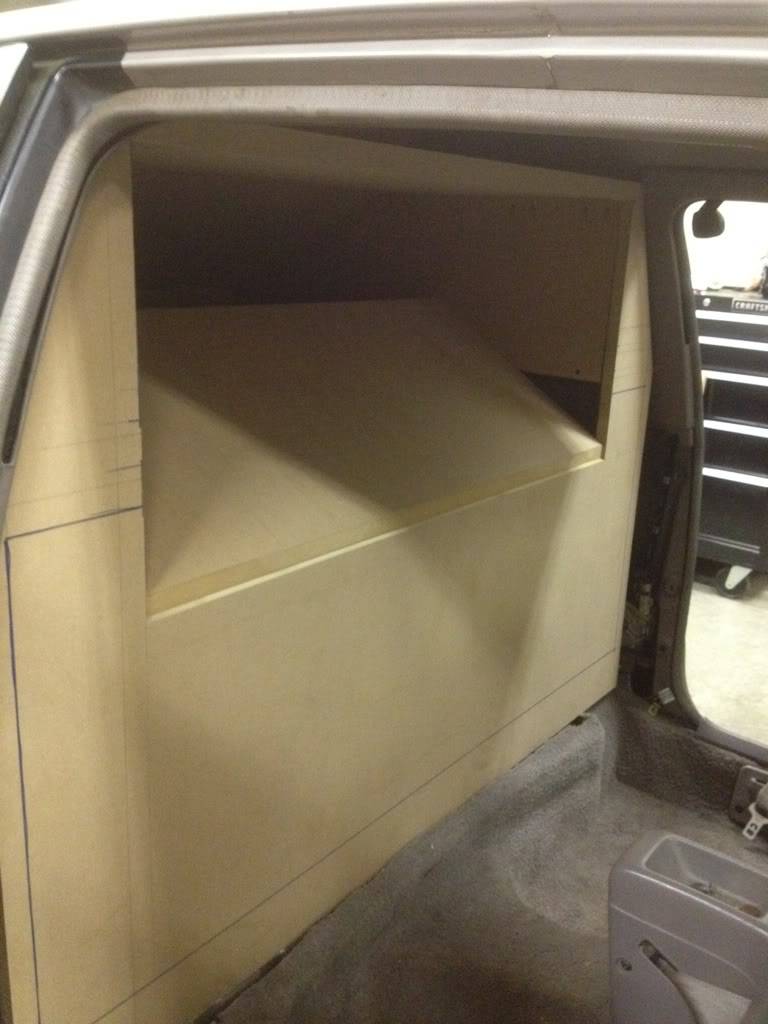
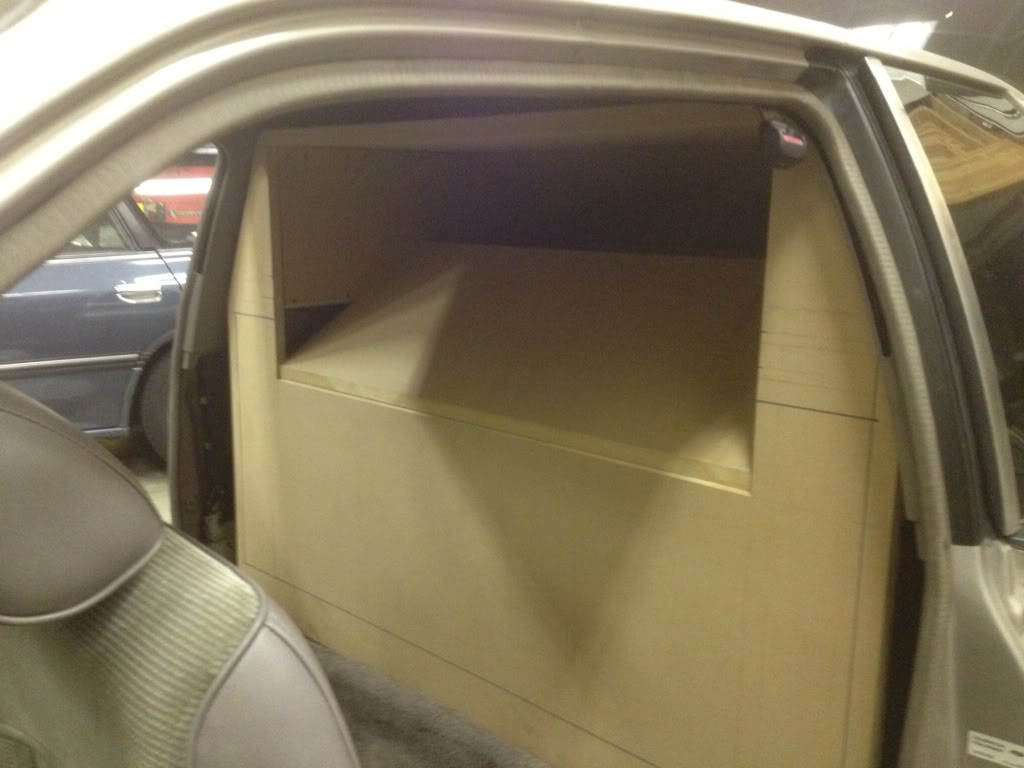
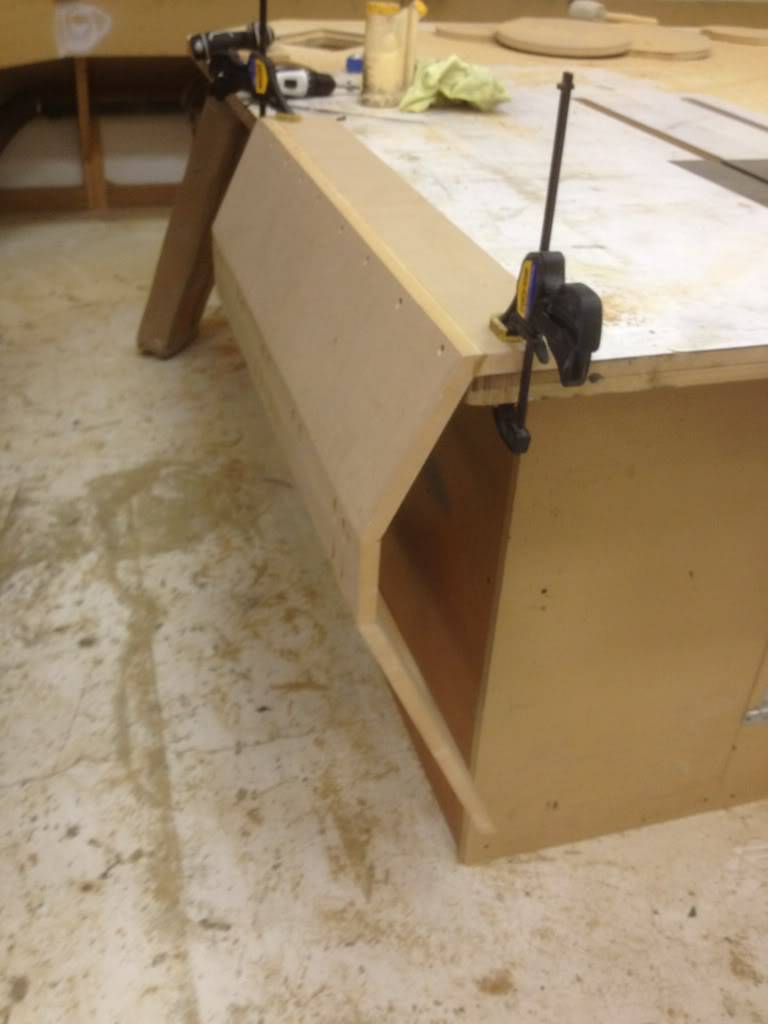
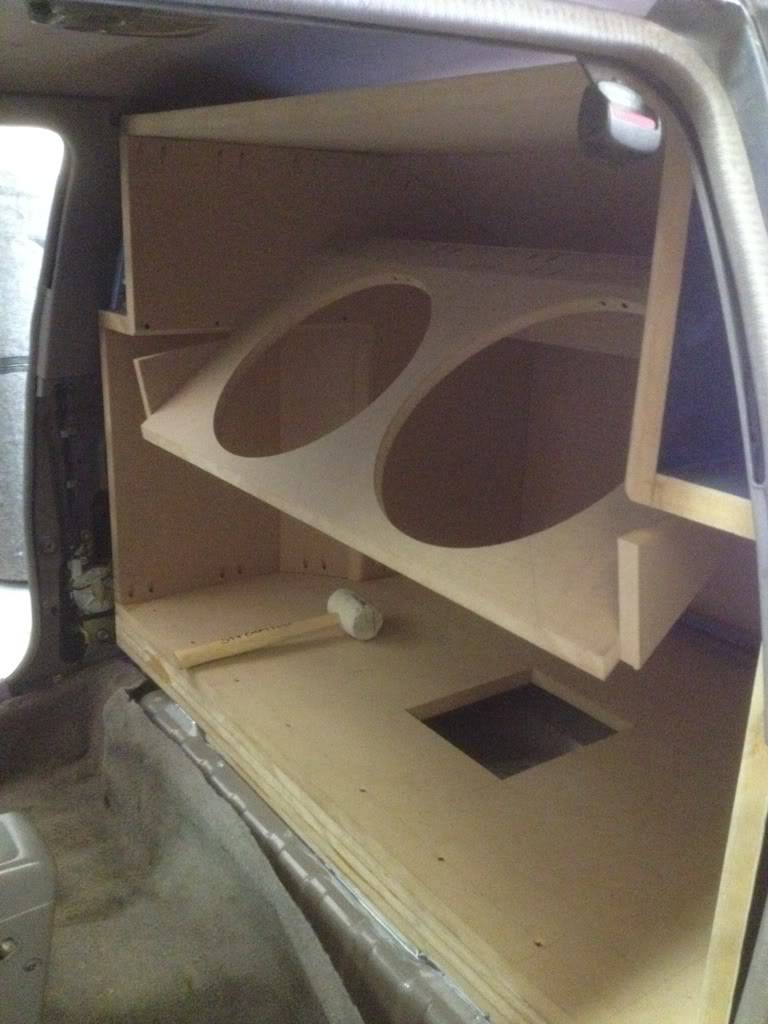
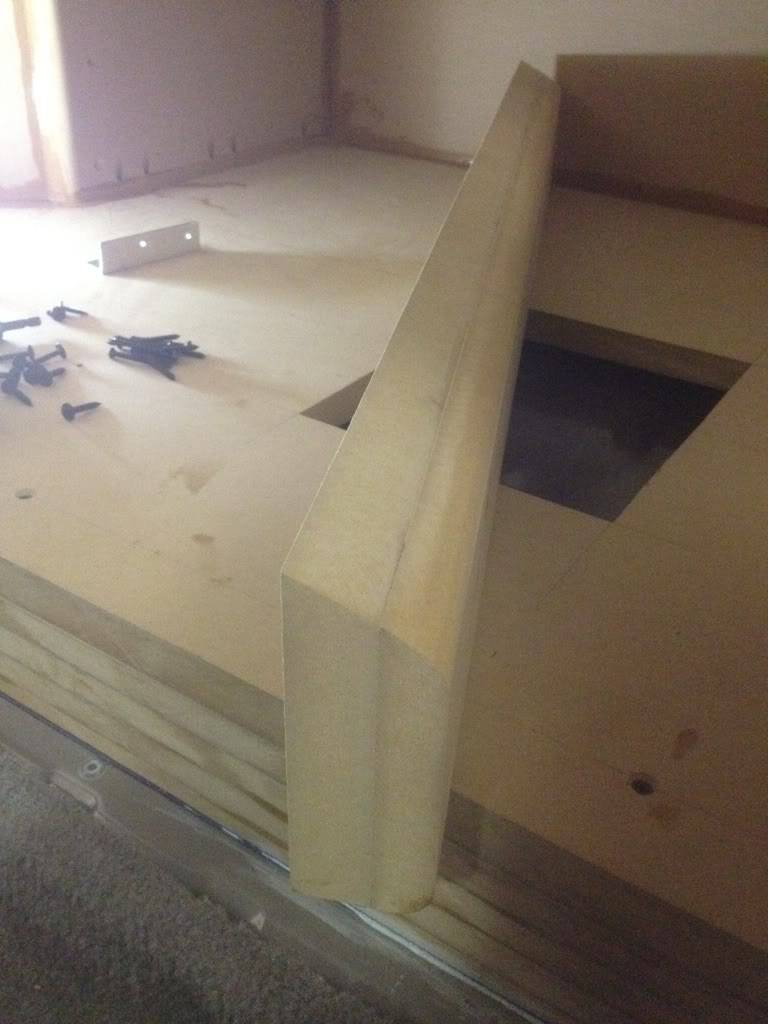
Time to start building my port. Again this port is experimental, I'm interested to see how the angled face is going to affect the port load.

Second piece on, this is the angle of the back wall.
Third piece on and mounted. Now I'm leaving the 3rd side skinny, I will have to thicken it up later to make the port throat even with the mouth, you'll see.
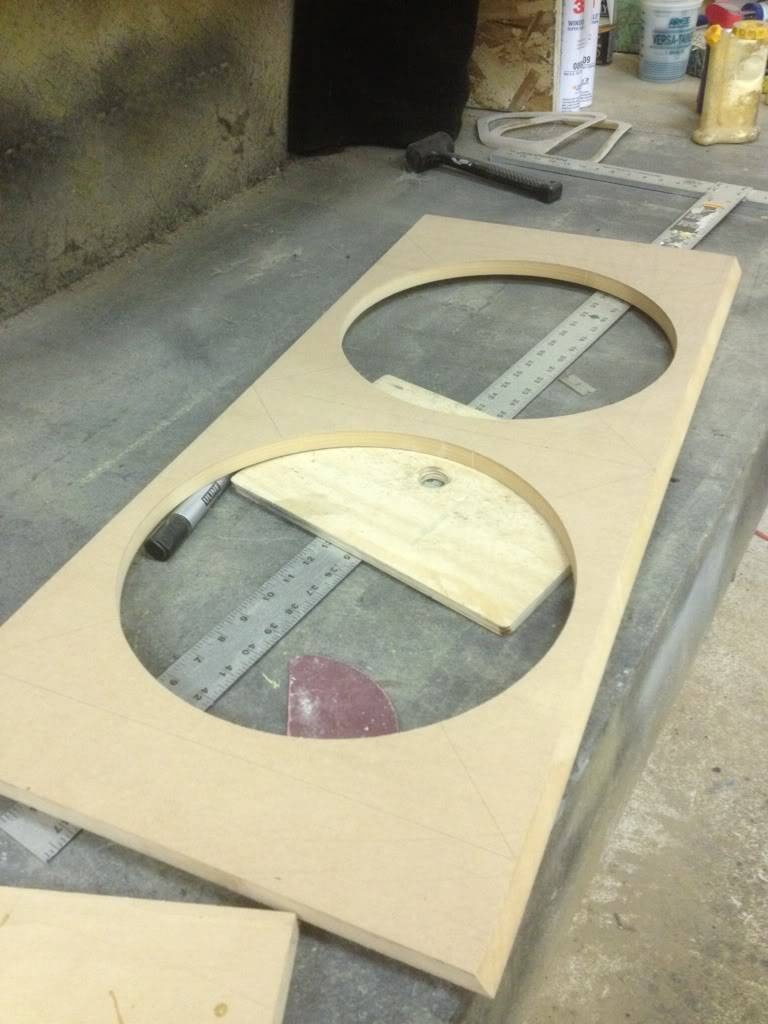
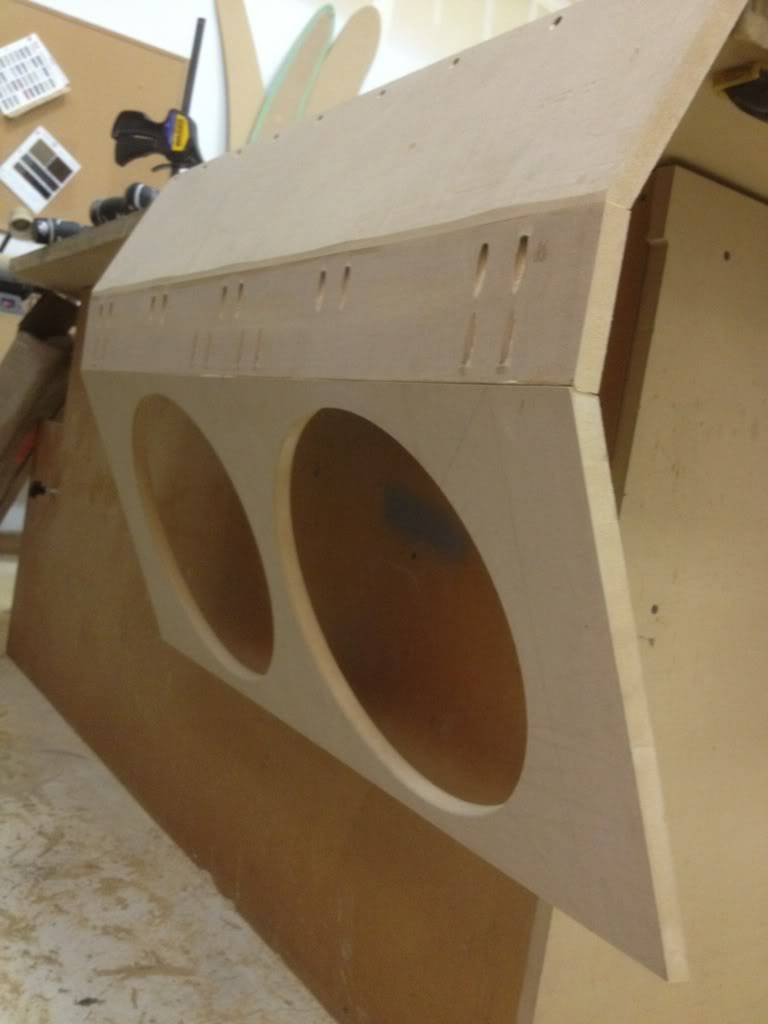
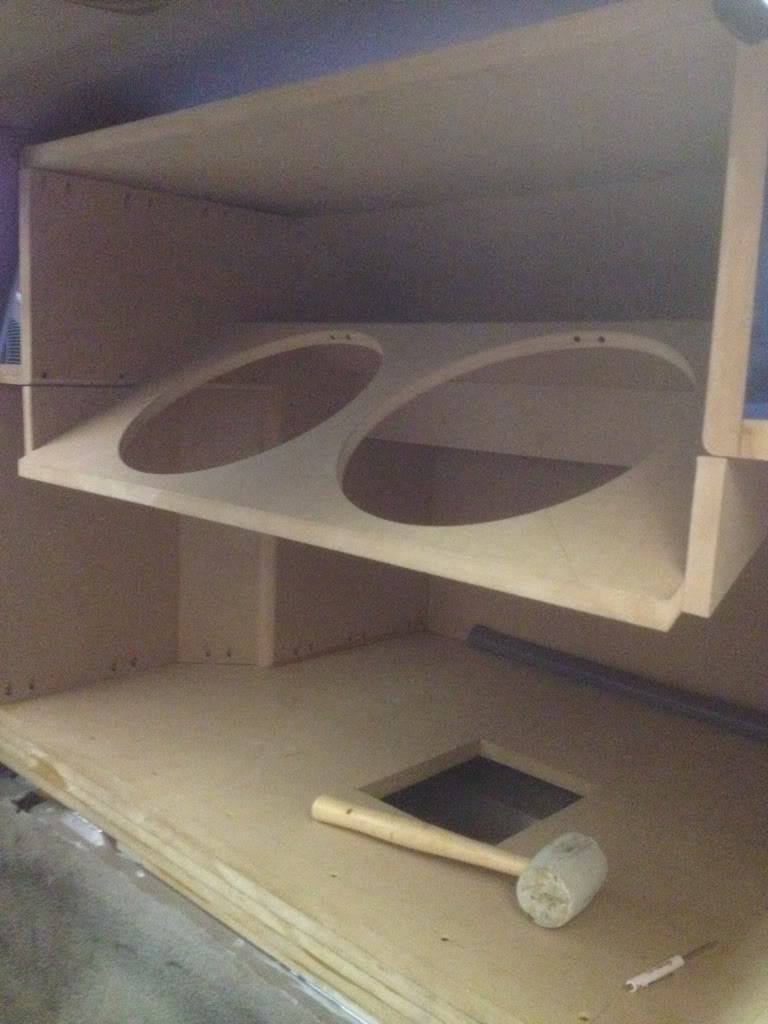
Then I got the face routered out. 14" on the nose. Thank you DD for making a sub with a regular basket size.
So got it all glued and screwed together
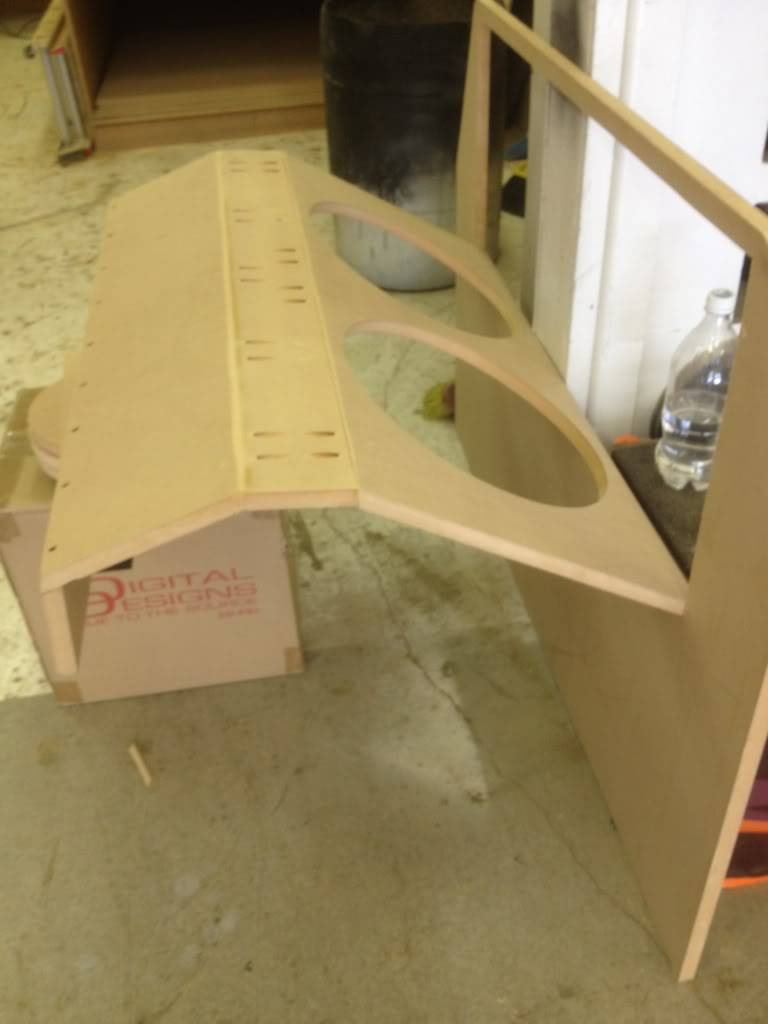
Those subs barely fit on the face hahaha.

Test fitting the port and enclosure face together. There will be a gap where my enclosure jogs out. So I will have to build a little filler plate.
Better view

Filler plate made
Test fitting it in the enclosure. it is TIGHT... have to hammer it in. This test fitting takes about an hour...
But I do finally get it into place.

Looks nice too

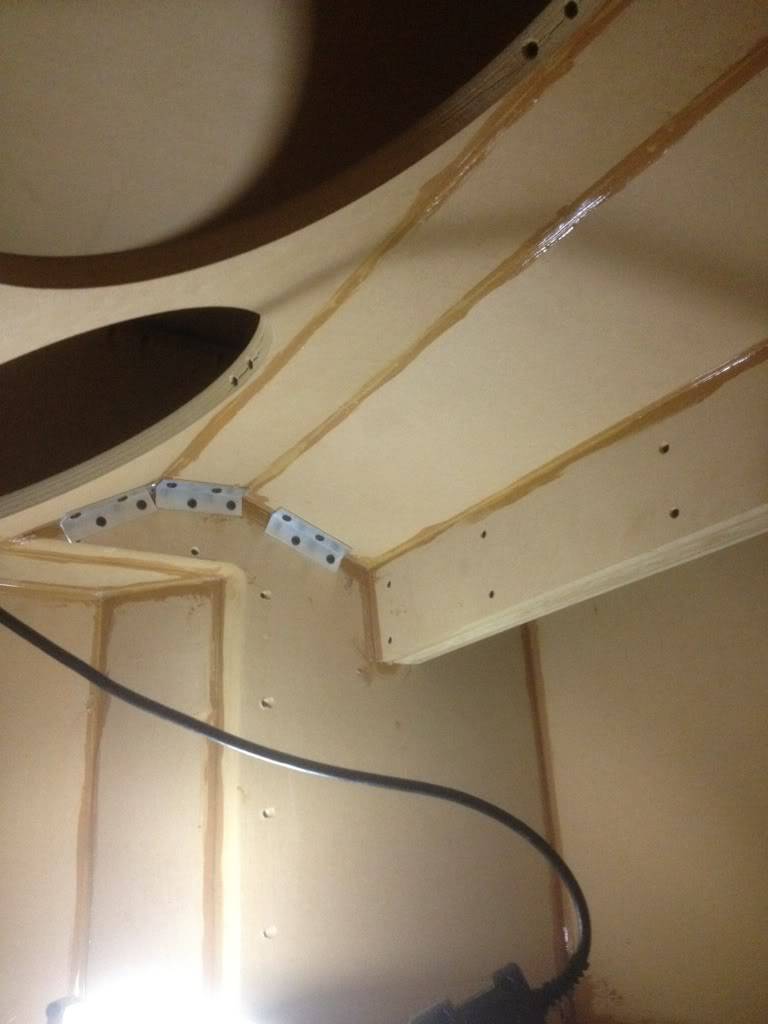
So onto the actual mounting. Aluminum to the rescue. Since this will have to be serviceable I want the port to be removable.
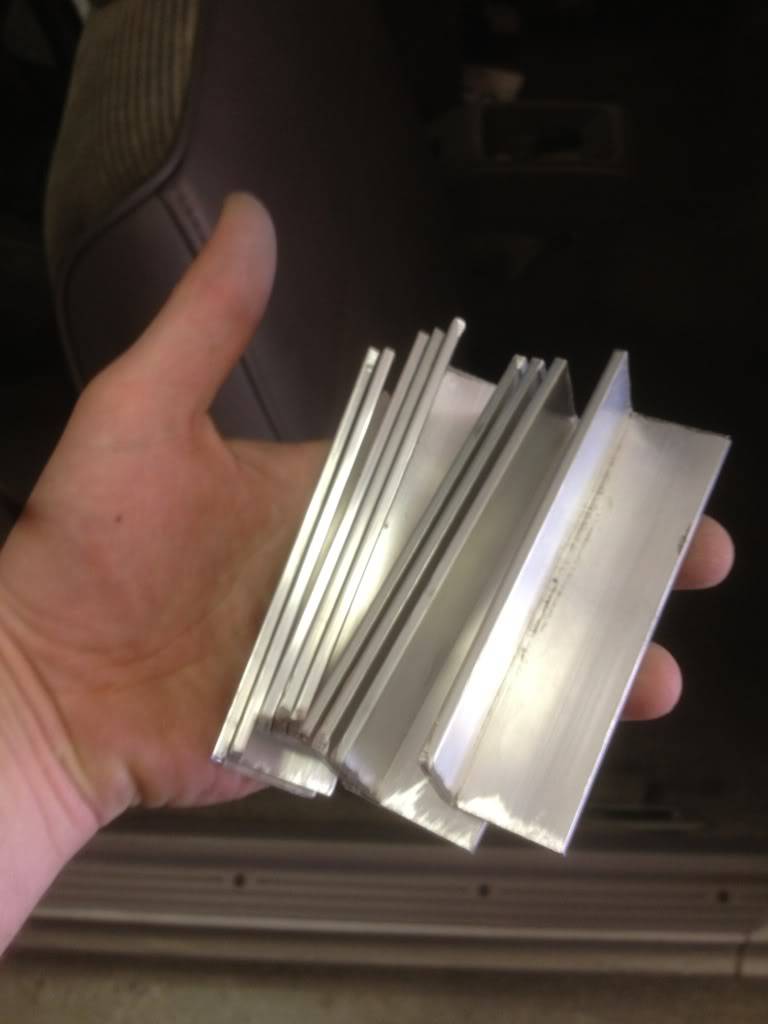
Aluminum cut into 4" sections.
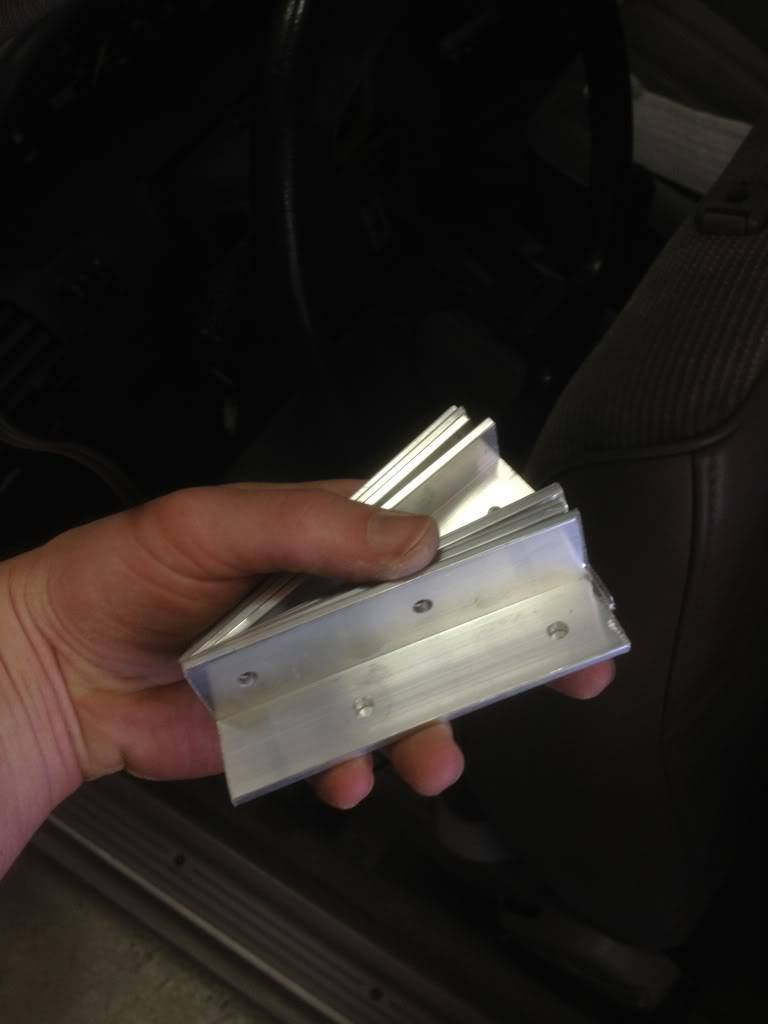
Holes

Silicon the port in and mount up my first aluminum mount. This is where the little filler plate gets mounted. This will be the biggest pain in the ass to unmount but at least I can if need be.

Also mounted all the edges of the port.

Sweet
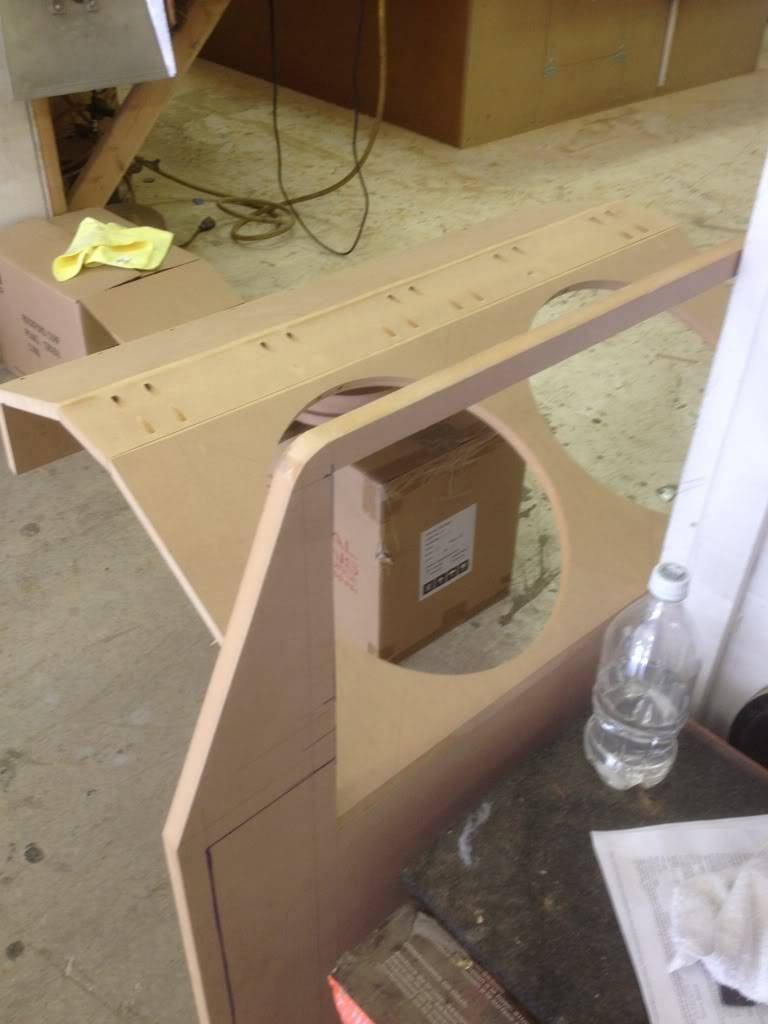
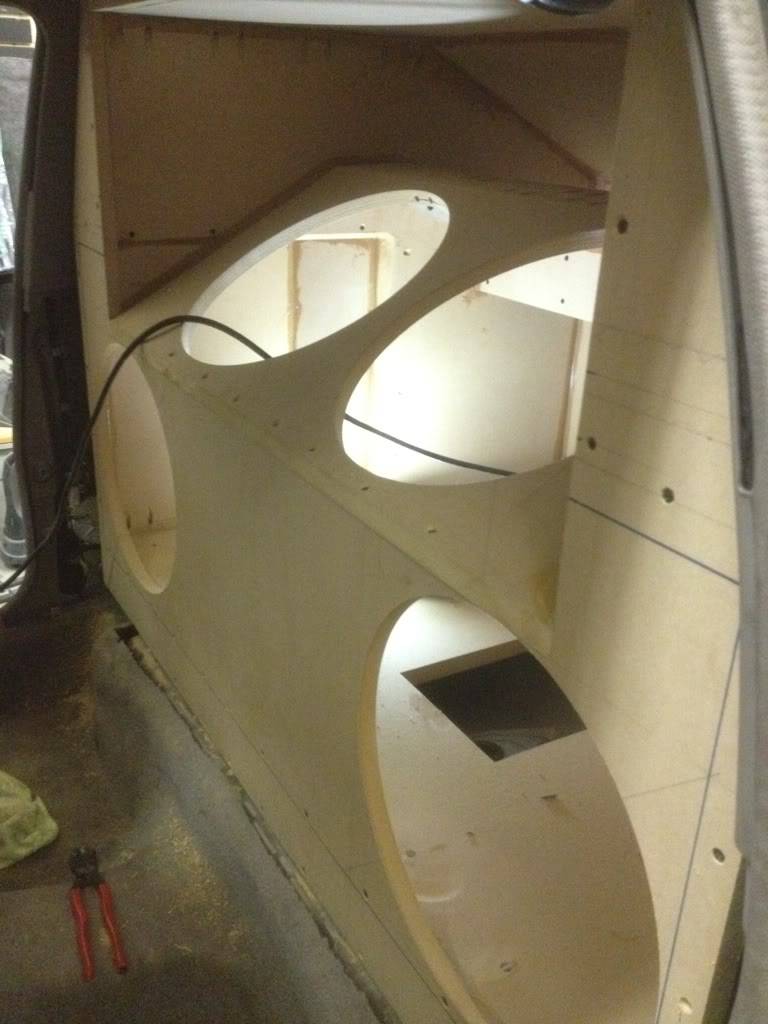
Here's that brace/port equalizer I mentioned. This will take the port from 8.5" down to 6.75" and brace the sidewalls
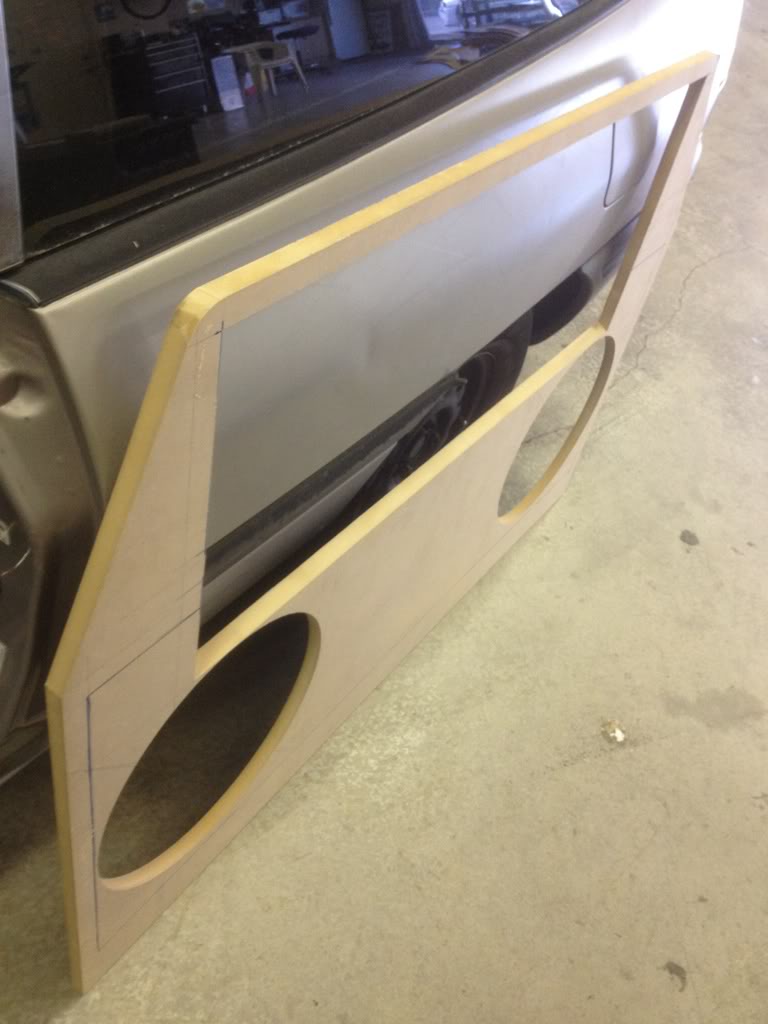
Face with the 2 woofer holes routered out.

Test fit. Looks a-ok to me.
So I enlisted the help of my girlfriend, Emma, to help me get the face mounted up. Glued the whole face surface, spread it evenly and fit the face on and in place.
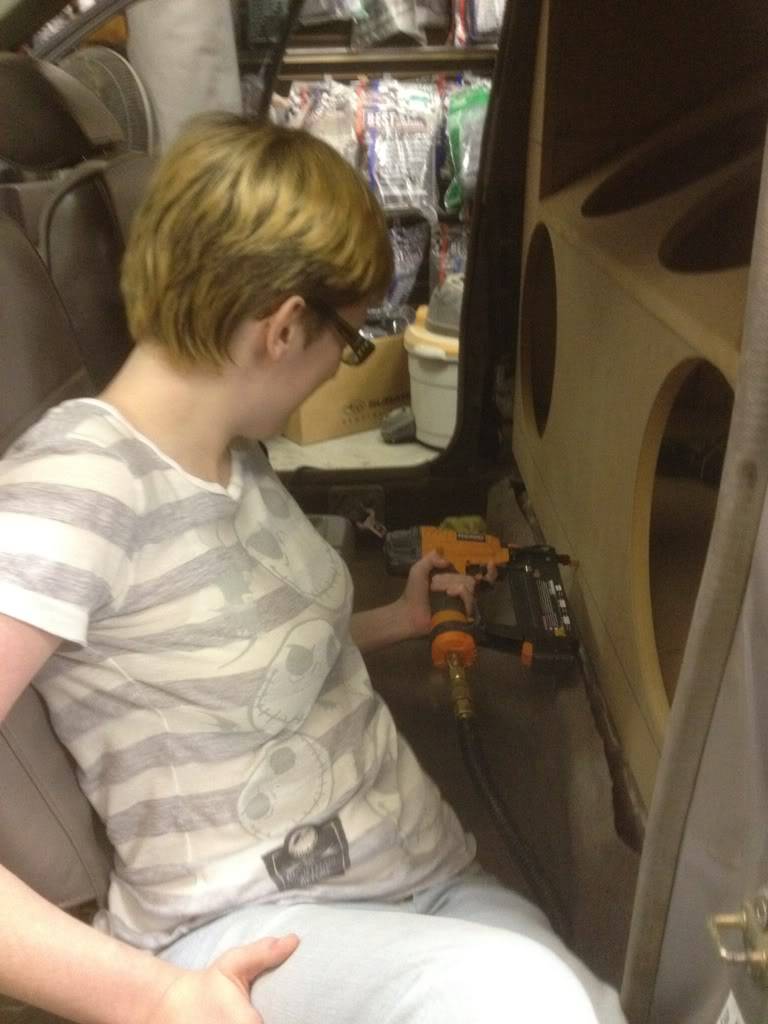
So I held on the face while Emma tacked it into place.

Then the whole face was pre-drilled, countersunk, and screwed into place.
Tada
Much better.
And just for funsies. This was the end of the first night.

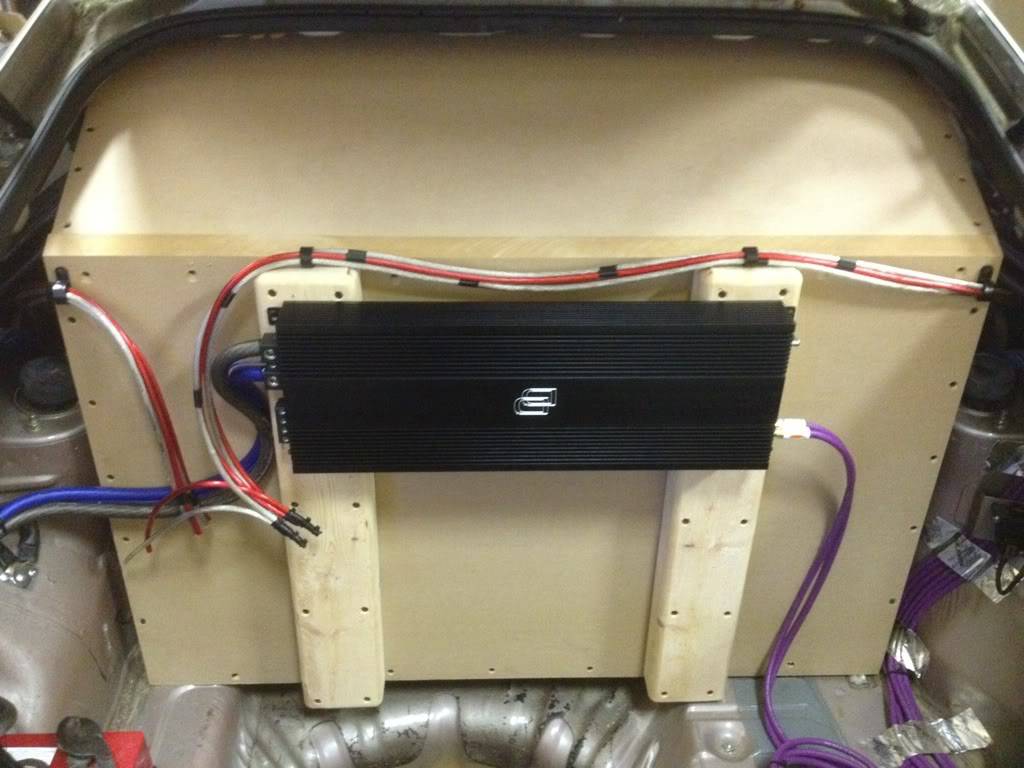
This was the next morning. Bracing the back wall. and creating an amp rack that can allow the amp to breathe from the back.
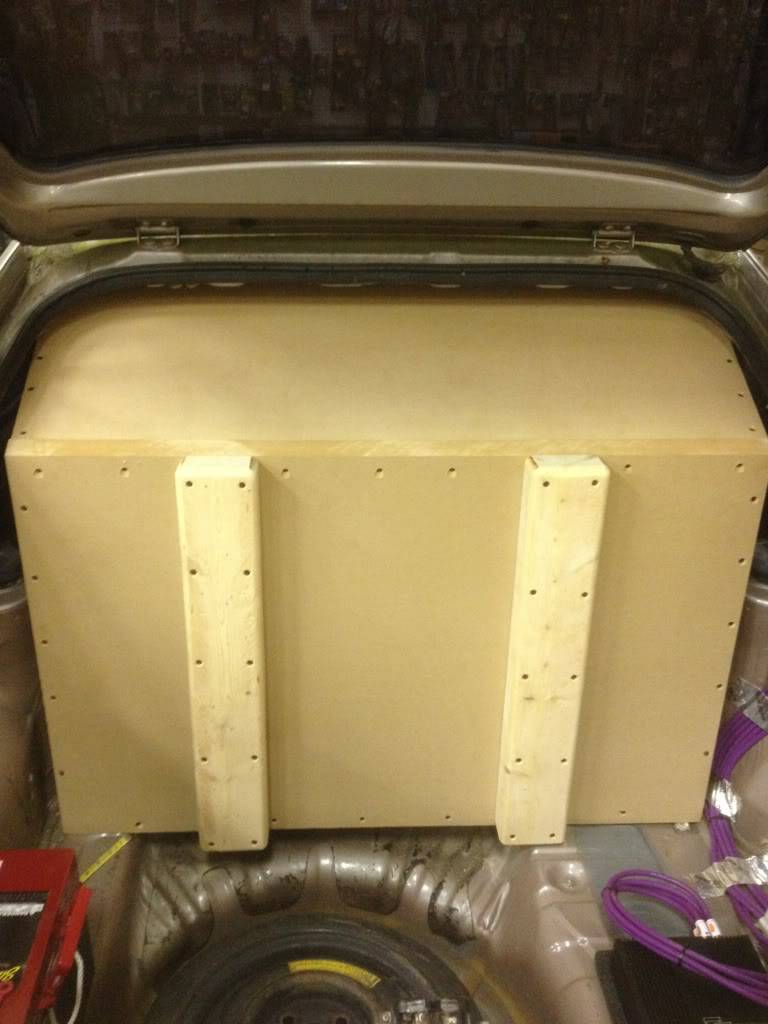
Both 2x4"s in place
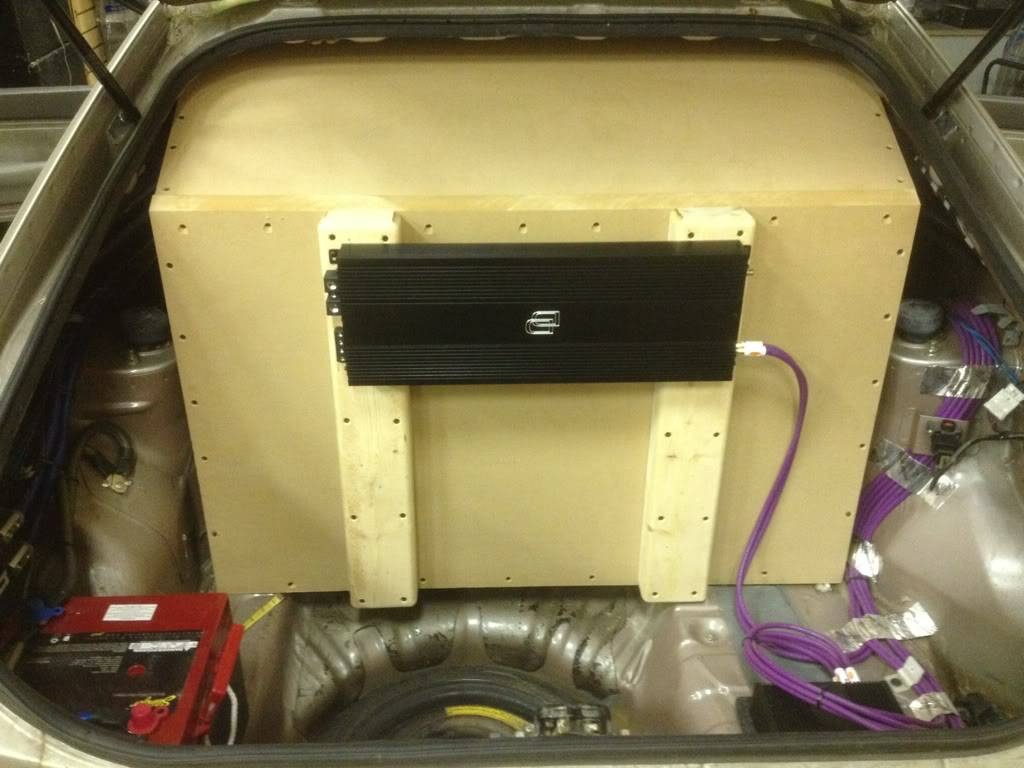
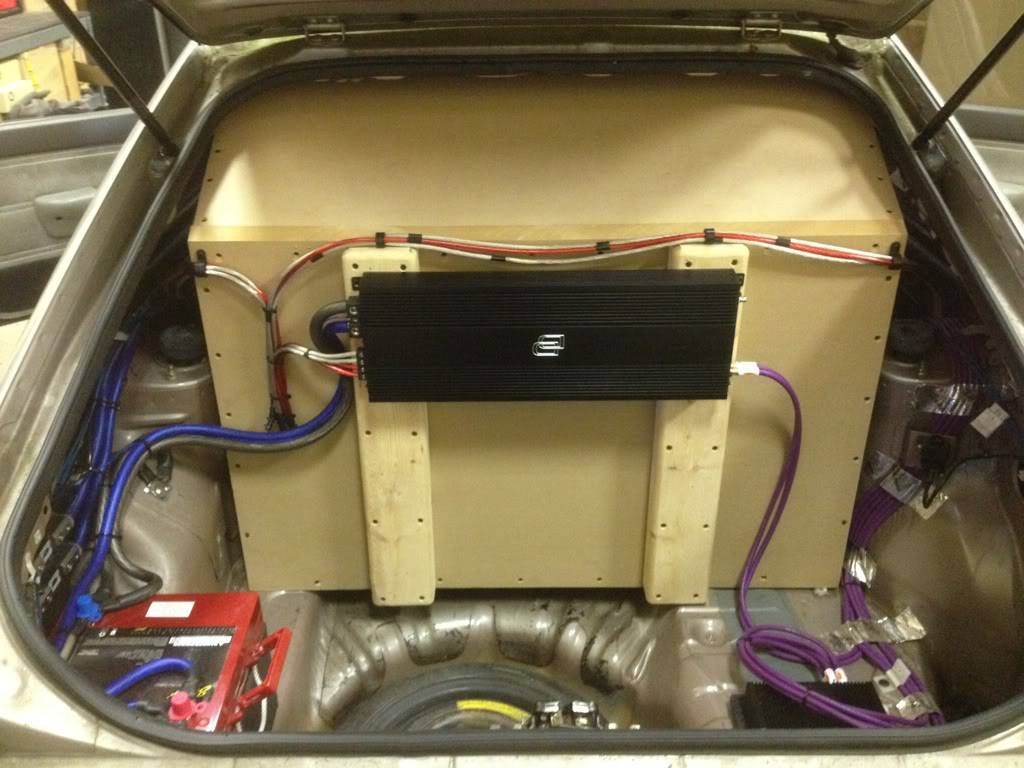
Digital Designs M2b mounted up. It looks so small and lonely.

All the battery wiring done for the M2b
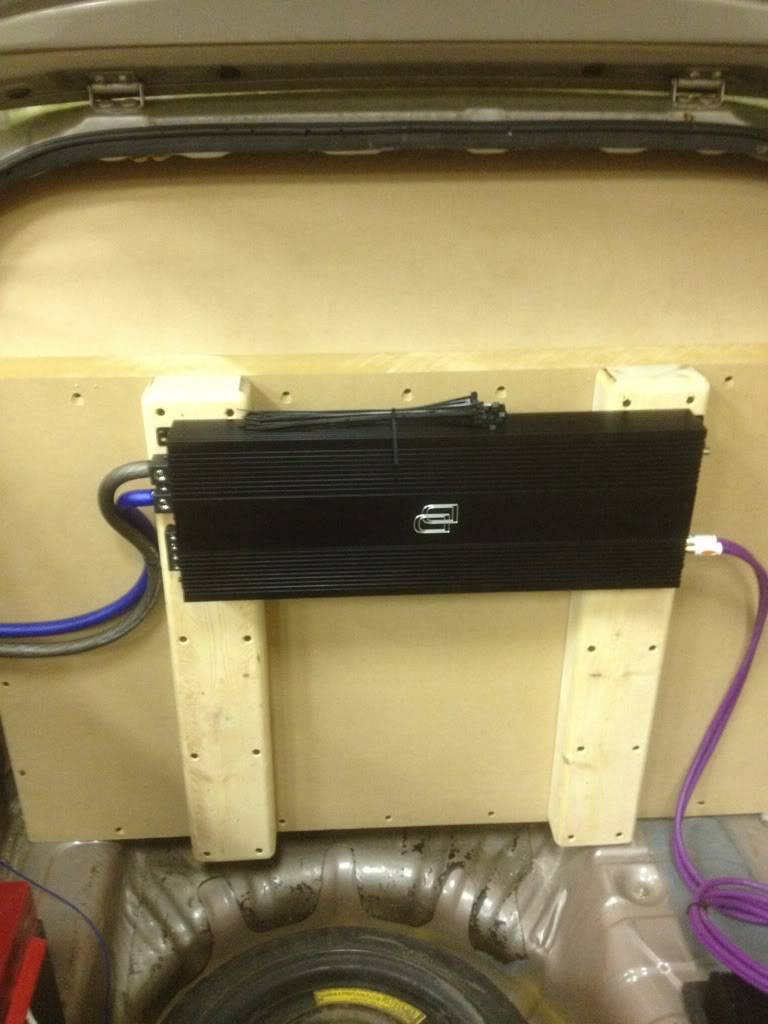
And thats where I had to stop for the night.
Alas no music yet... soon though... soon
Until next time fellas. Thanks for readin'
ABob89- Posts : 71
Reputation : 0
Join date : 2011-10-12
Location : Vancouver WA -
![]()
![]()
RidnClean- Posts : 126
Reputation : 4
Join date : 2011-10-09
![]()
![]()
Re: Abob89's 1991 Ford Escort
![]() by Emery.H Wed Jun 13, 2012 11:26 am
by Emery.H Wed Jun 13, 2012 11:26 am
Emery.H- Posts : 371
Reputation : 5
Join date : 2012-01-27
Age : 33
Location : North Seattle
![]()
![]()
Re: Abob89's 1991 Ford Escort
![]() by ABob89 Wed Jun 13, 2012 12:29 pm
by ABob89 Wed Jun 13, 2012 12:29 pm
ABob89- Posts : 71
Reputation : 0
Join date : 2011-10-12
Location : Vancouver WA -
![]()
![]()
Re: Abob89's 1991 Ford Escort
![]() by basshead92 Wed Jun 13, 2012 3:26 pm
by basshead92 Wed Jun 13, 2012 3:26 pm
basshead92- Posts : 465
Reputation : 12
Join date : 2011-10-20
Age : 32
Location : Fall City, Washington
![]()
![]()
6-18-12 : Wire and Load Subs
![]() by ABob89 Tue Jun 19, 2012 3:11 am
by ABob89 Tue Jun 19, 2012 3:11 am
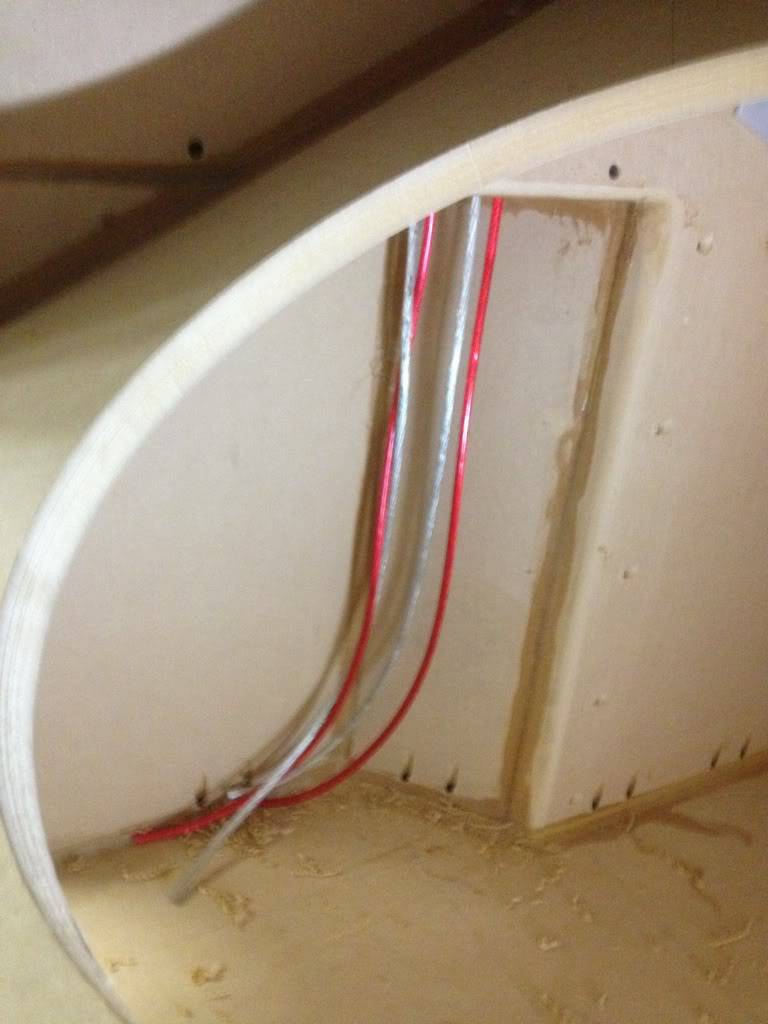
So I ran my 4 runs of silver 8ga and 4 runs of red 8ga into the enclosure and sealed up the excess space around the wire to keep the enclosure leak free.

I ran my new speaker wires to the amplifier.
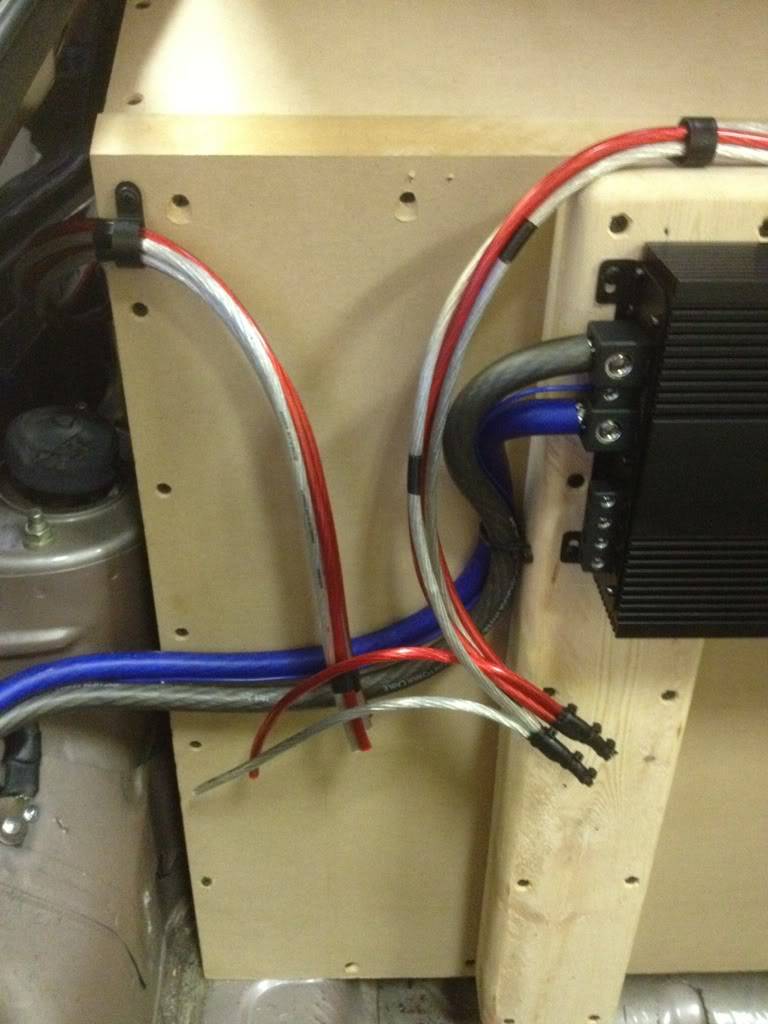
So I don't have any 8ga summing distro blocks so I had to do it the old fashion way.
I'm still trying to keep the wiring as clean as possible.
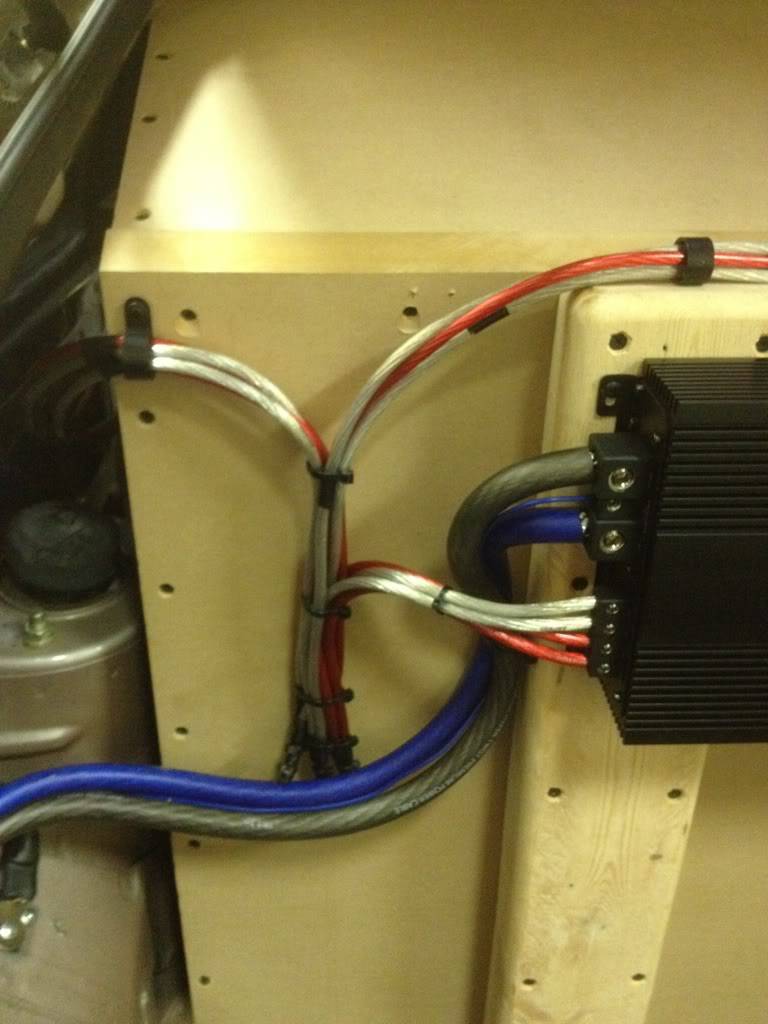
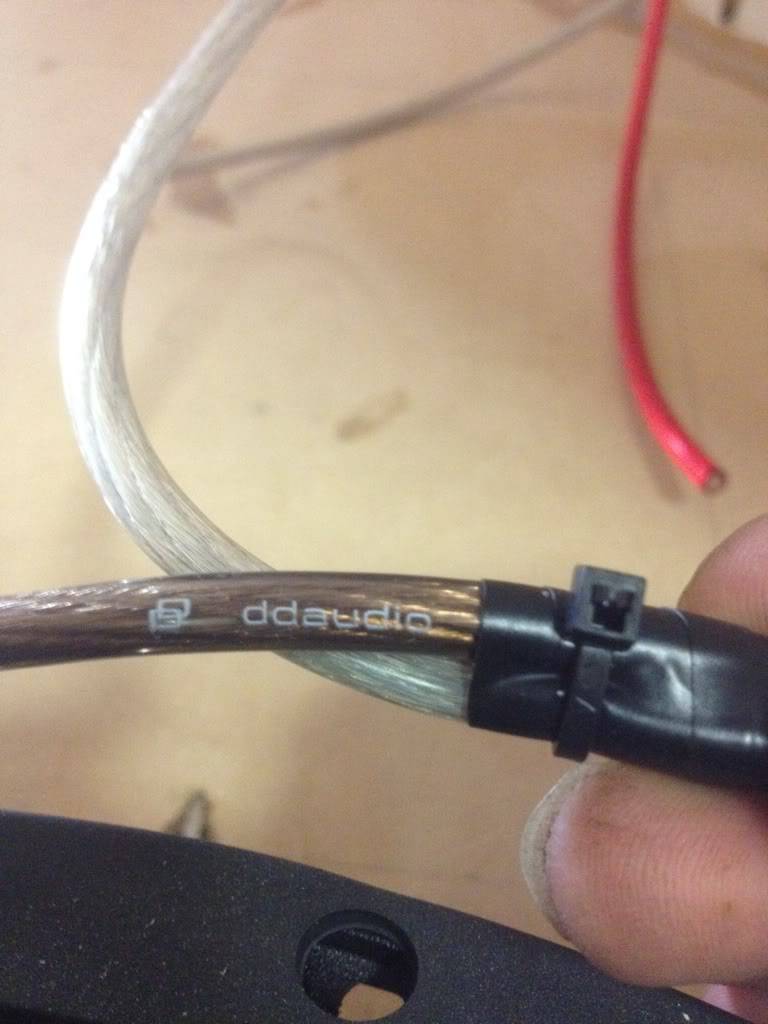
So if any of you are familiar with Digital Designs they ask their users to twist wiring on their subs together and tape it together. this is a better connection than a butt connector or what have you because the connector can be made of some inferior metal and will result in signal loss. So I employed the same approach to wiring the remaining sub wires. I opted against solder for the sake of ease if I change anything or upgrade anytime soon.
Nice and pretty

I also added a Stinger Voltage Gauge
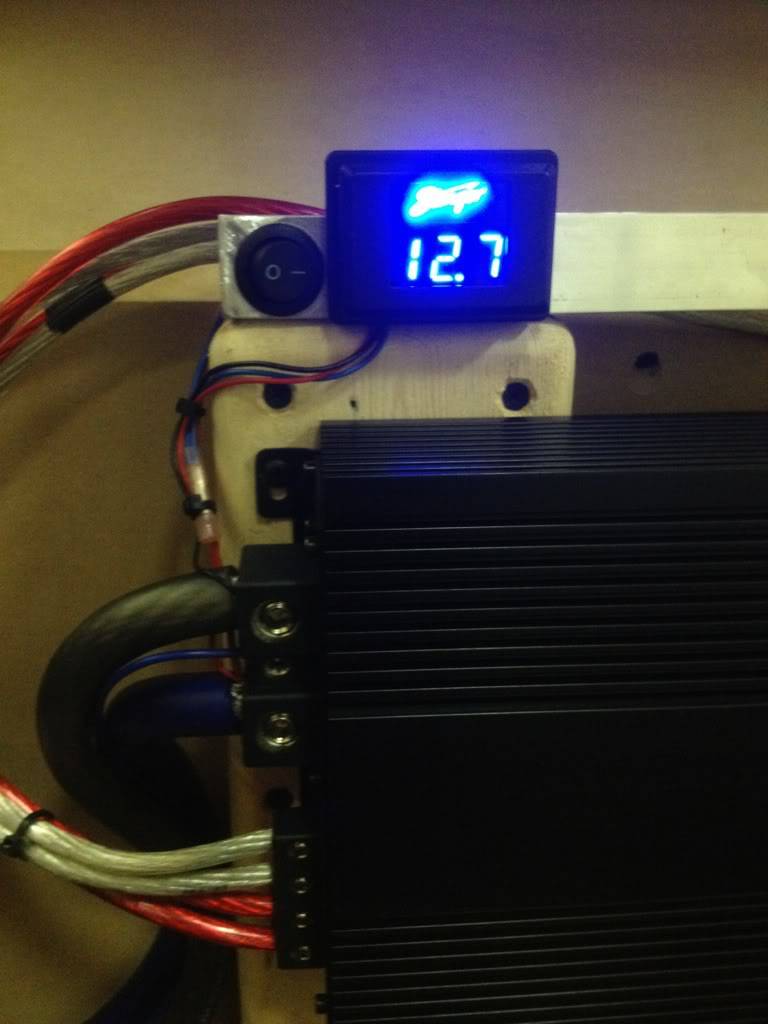
Stock alternator so meh, 12.7 will work.
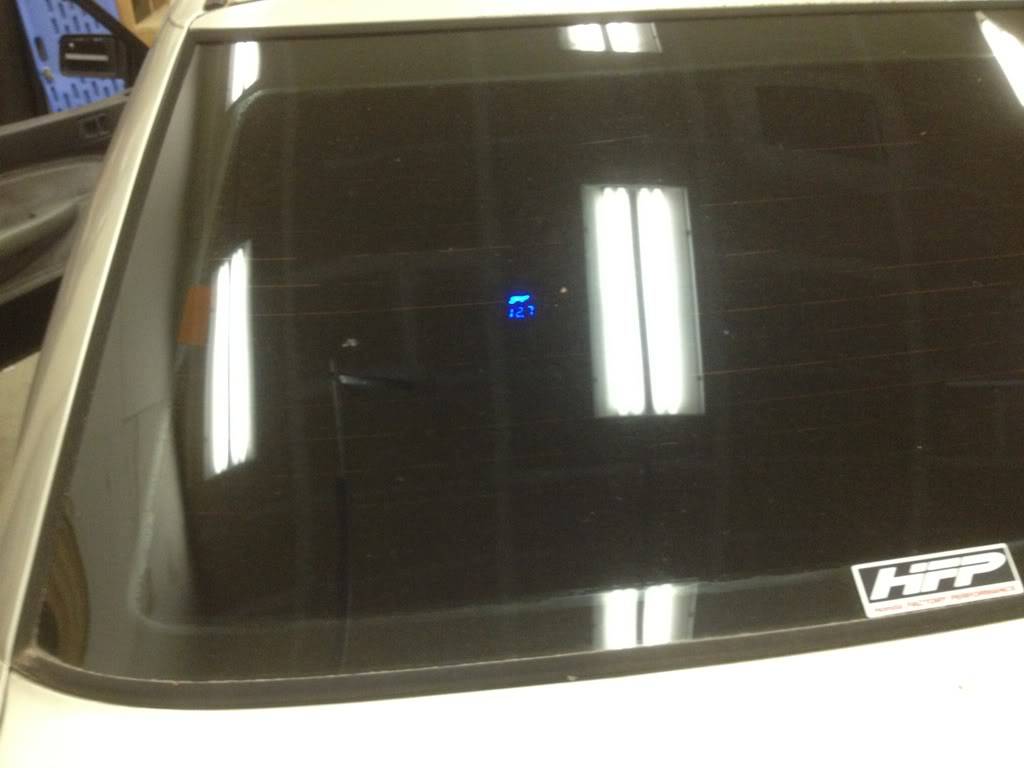
Blamo. Thats right voltage monitoring from outside the vehicle.
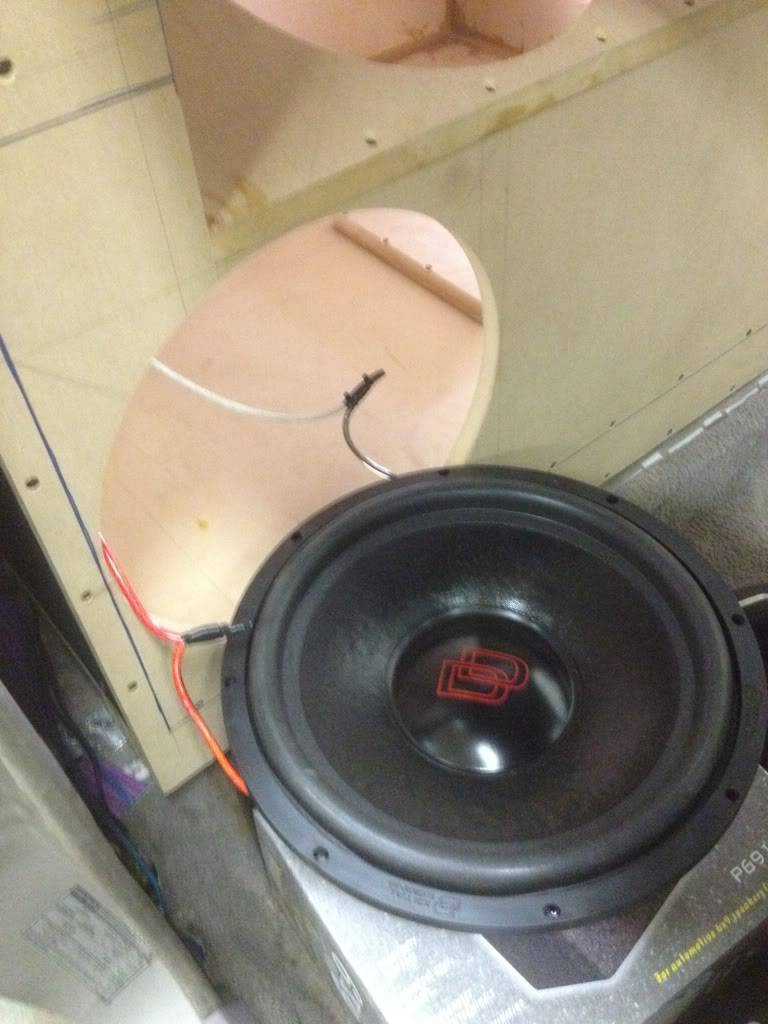
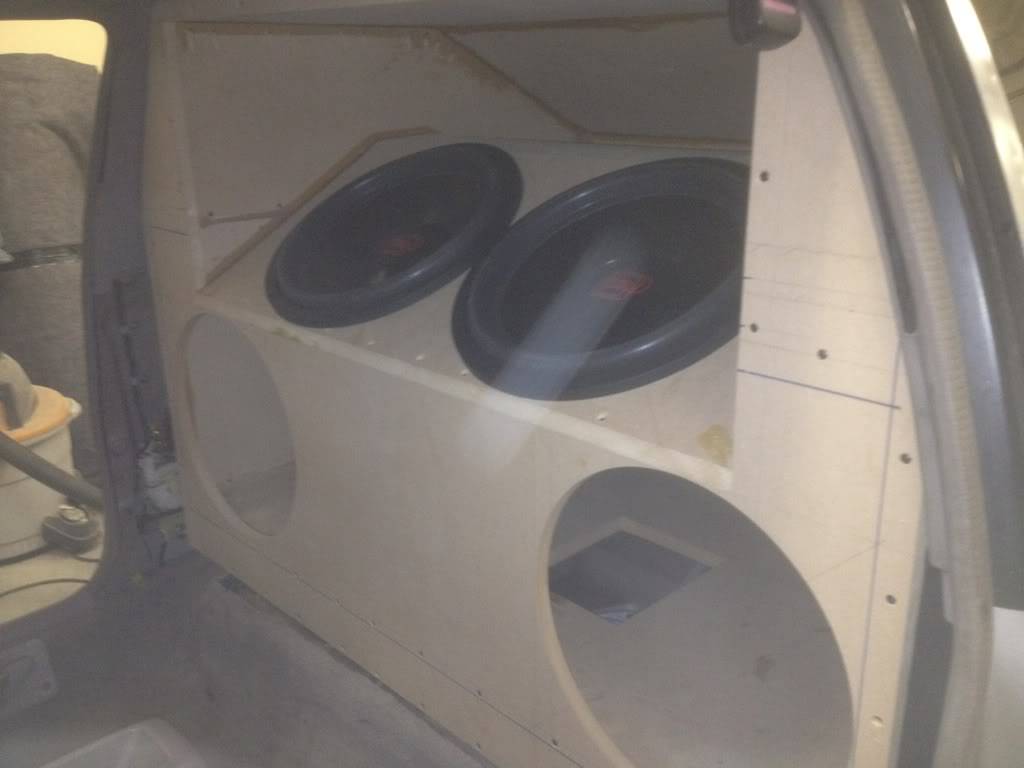
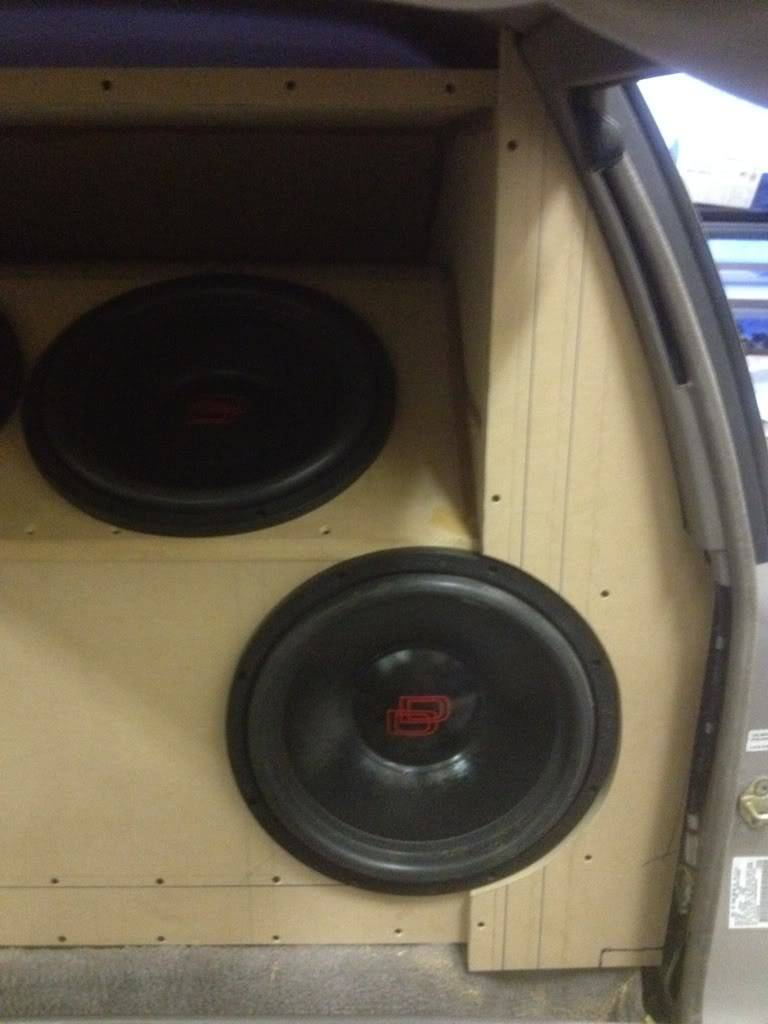
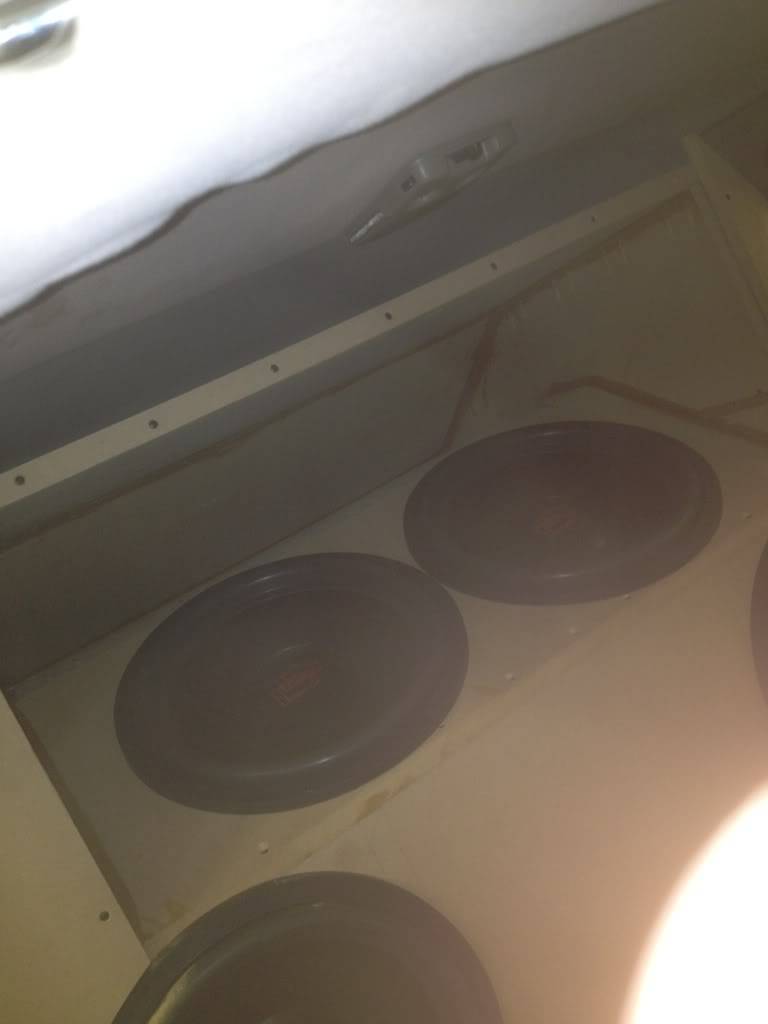
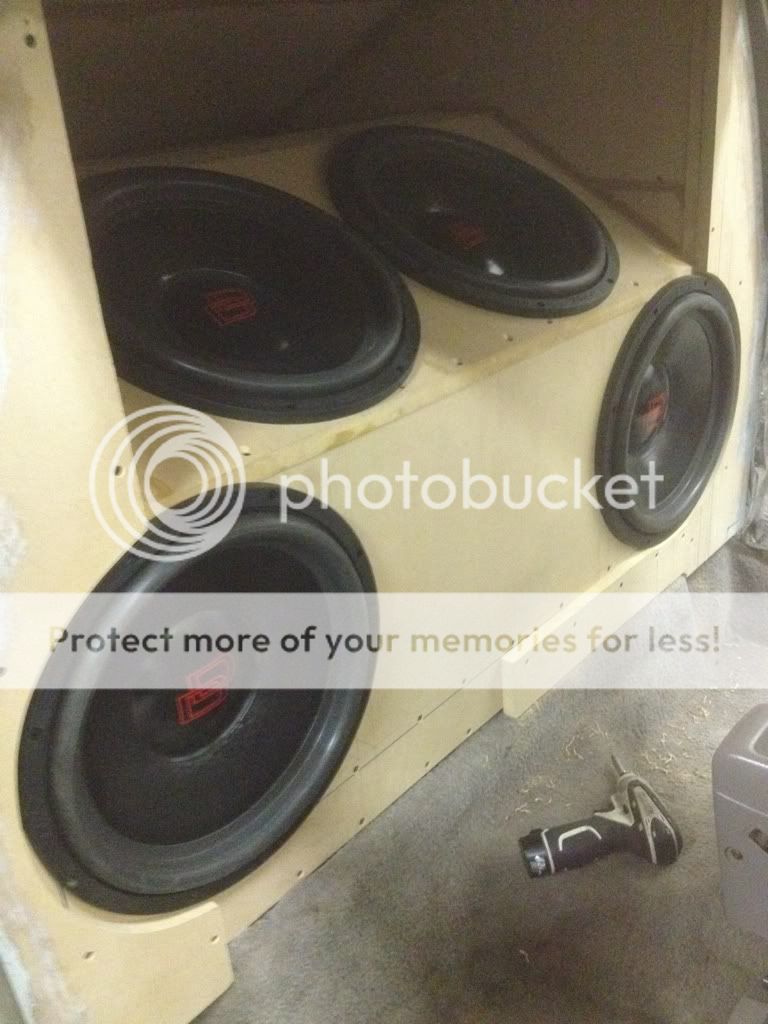
Mmm... well lets get these subs loaded up shall we?

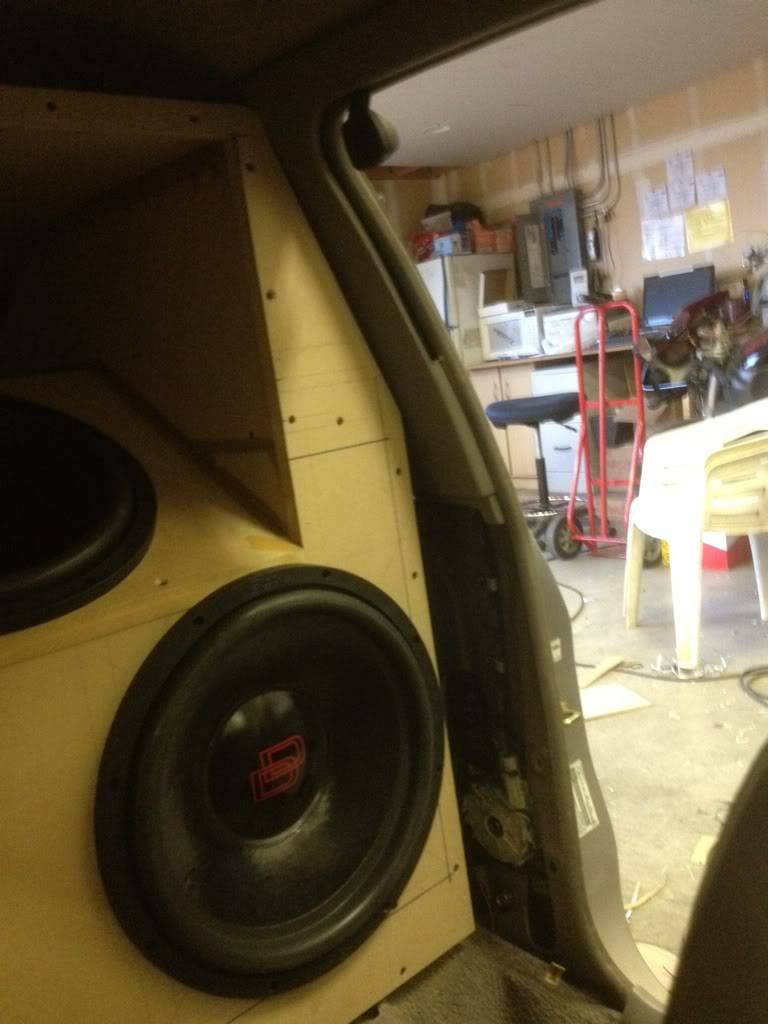
First one in.

Oh so nice.
cool shot.
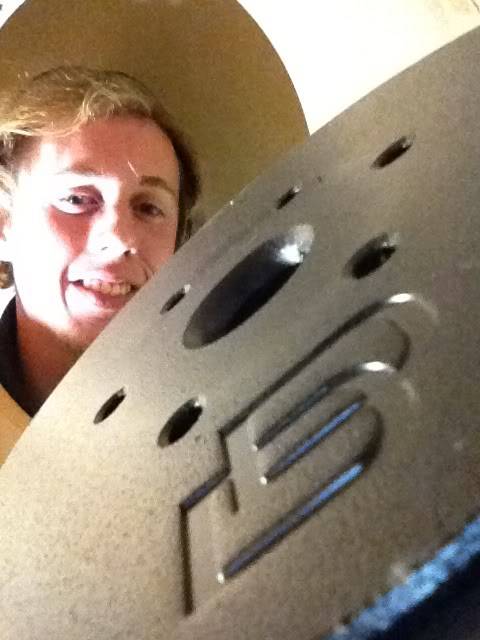
I love how DD goes down to the little details.
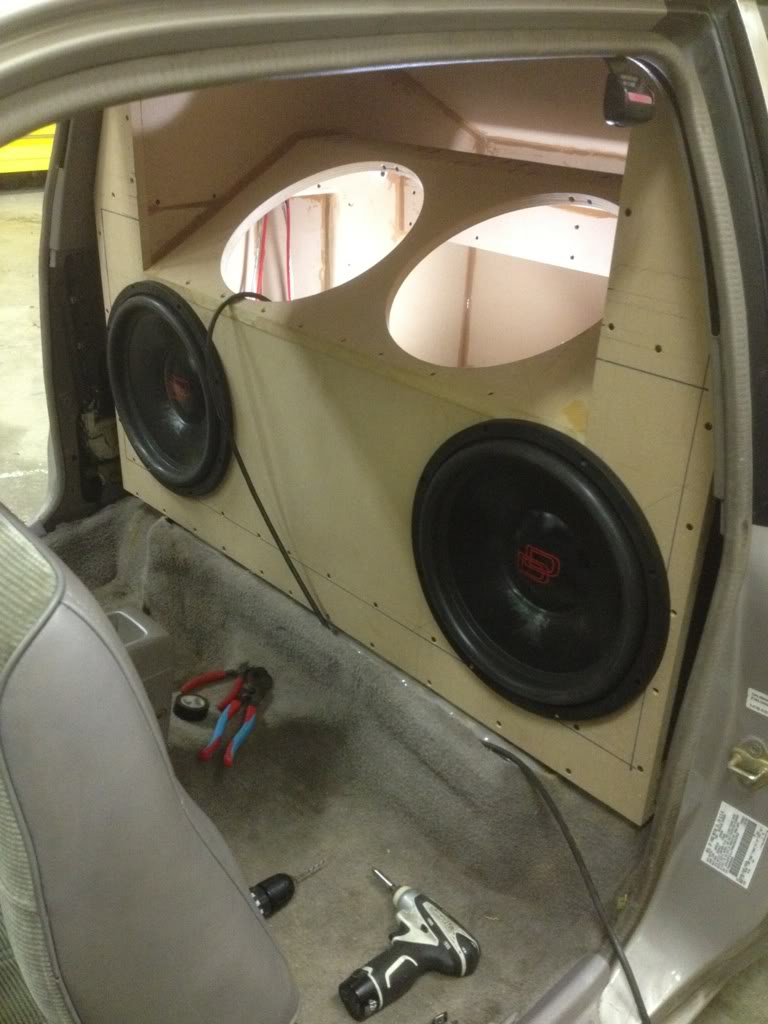
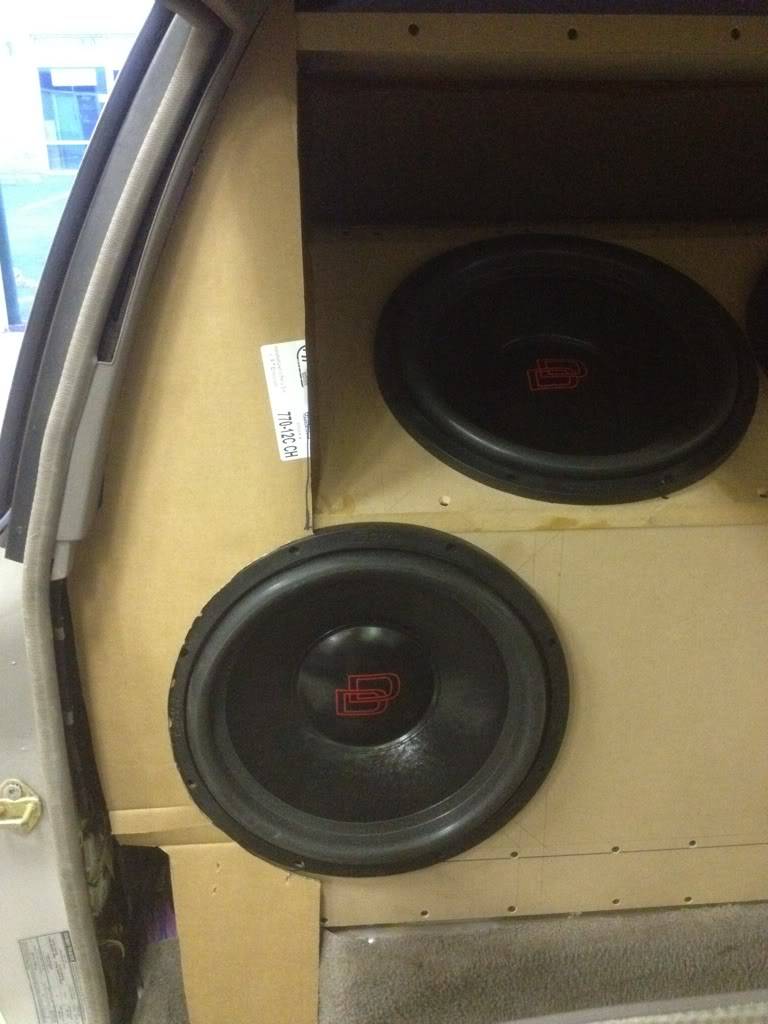
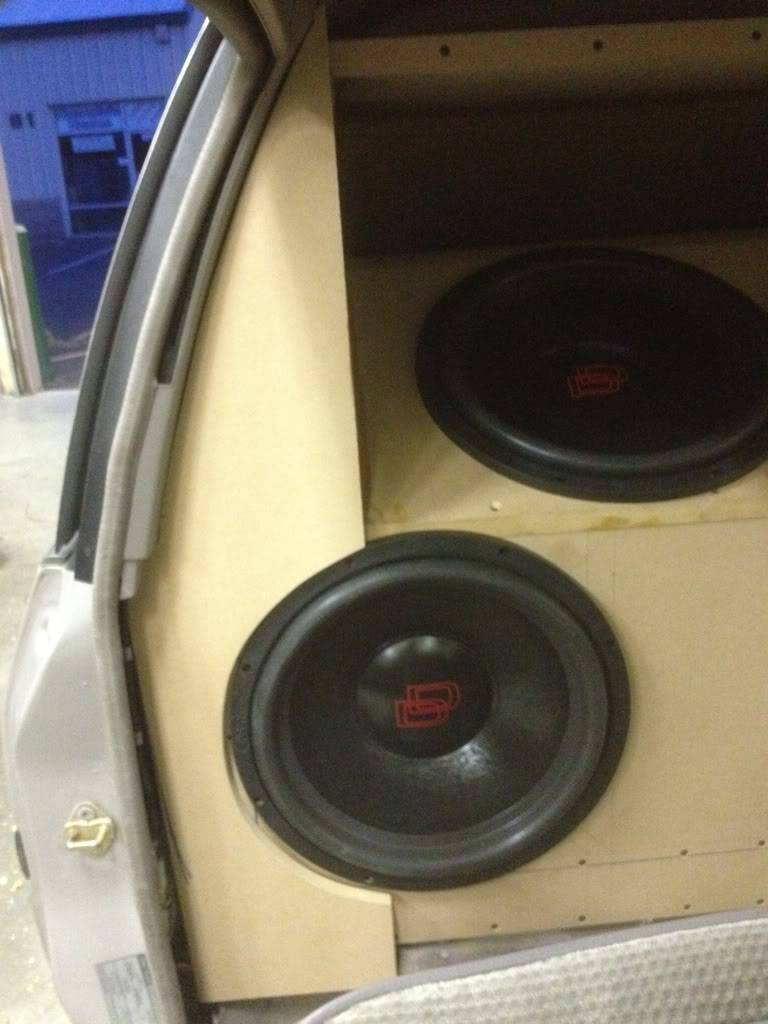
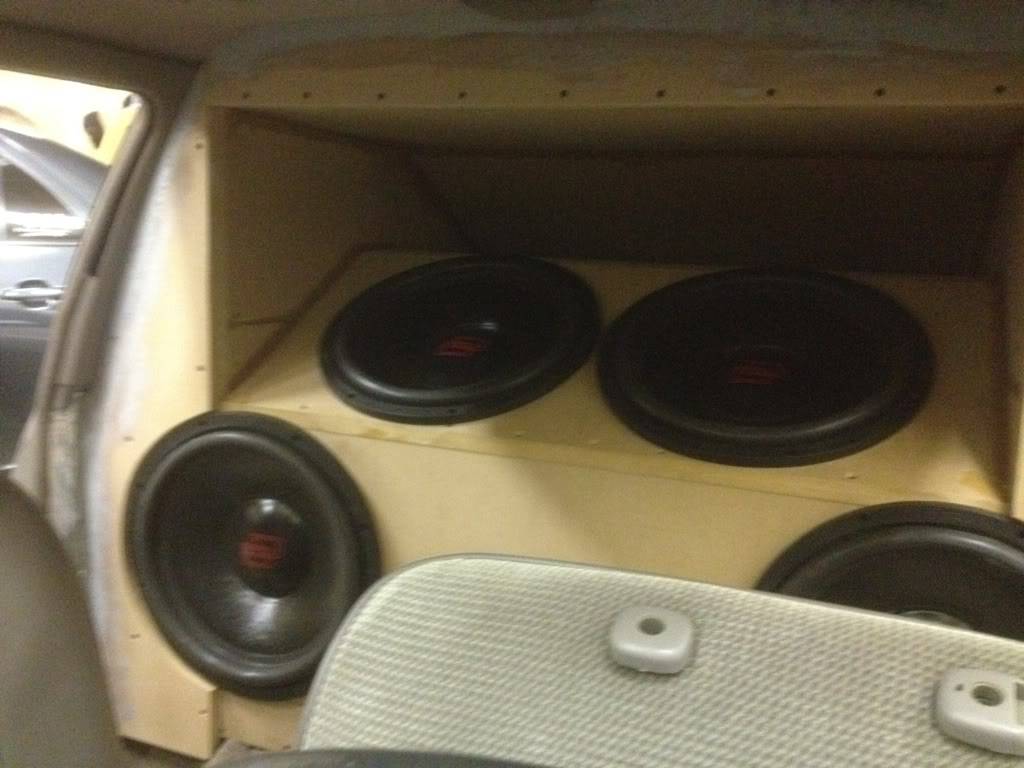
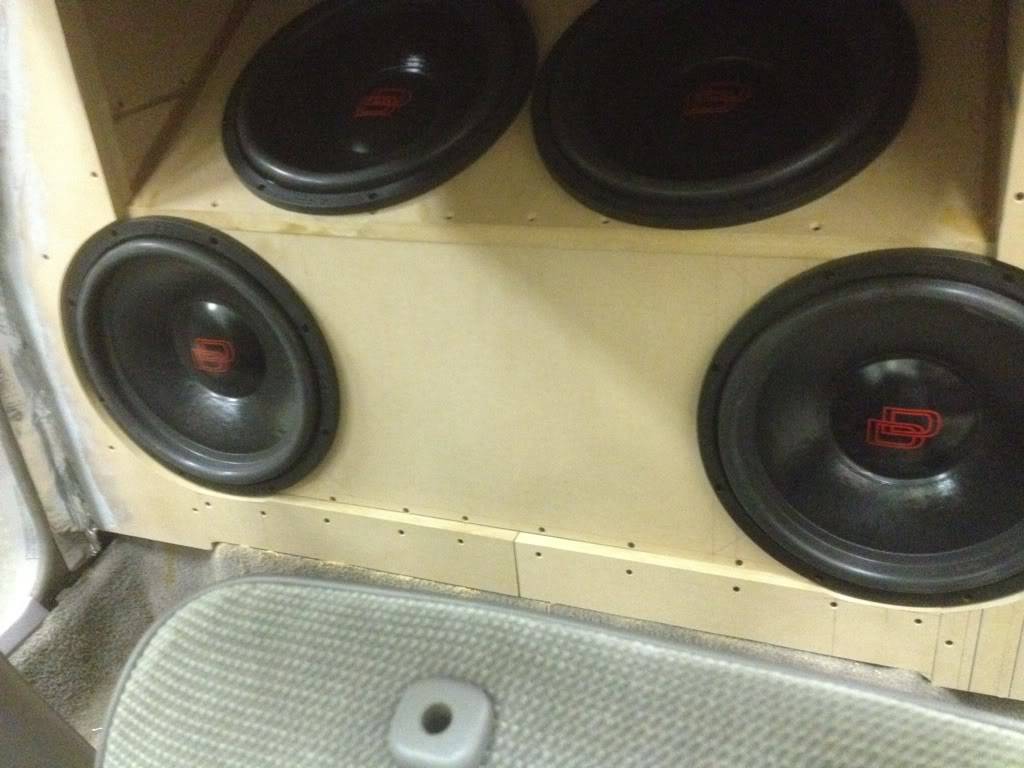
2 subs loaded.
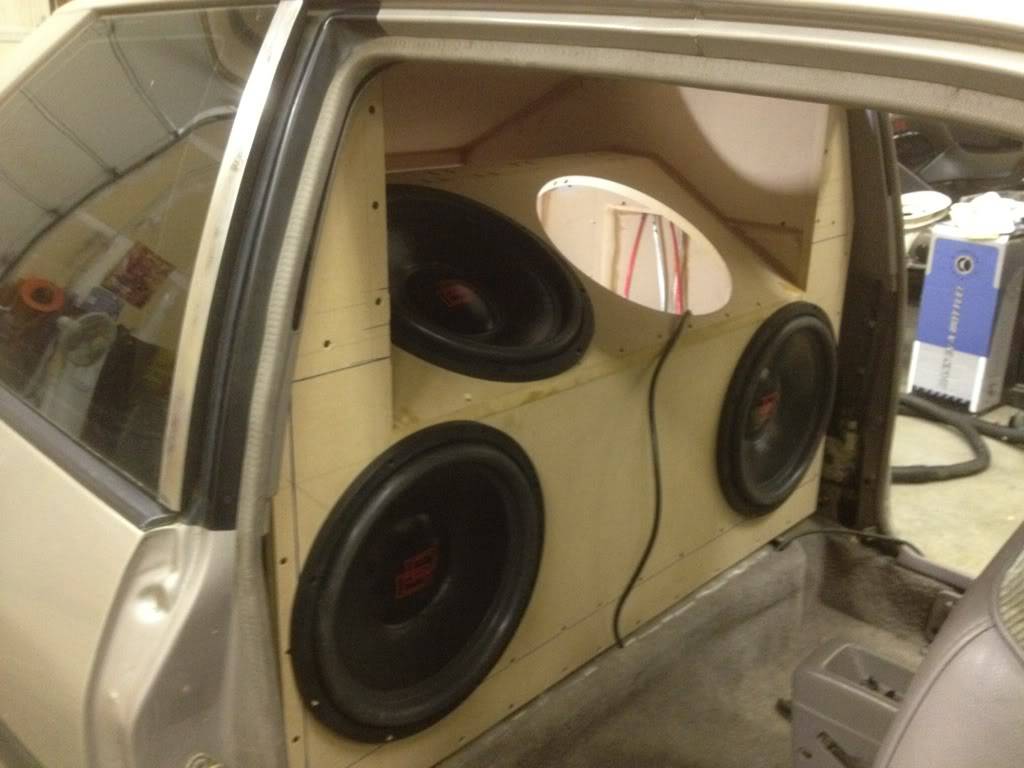
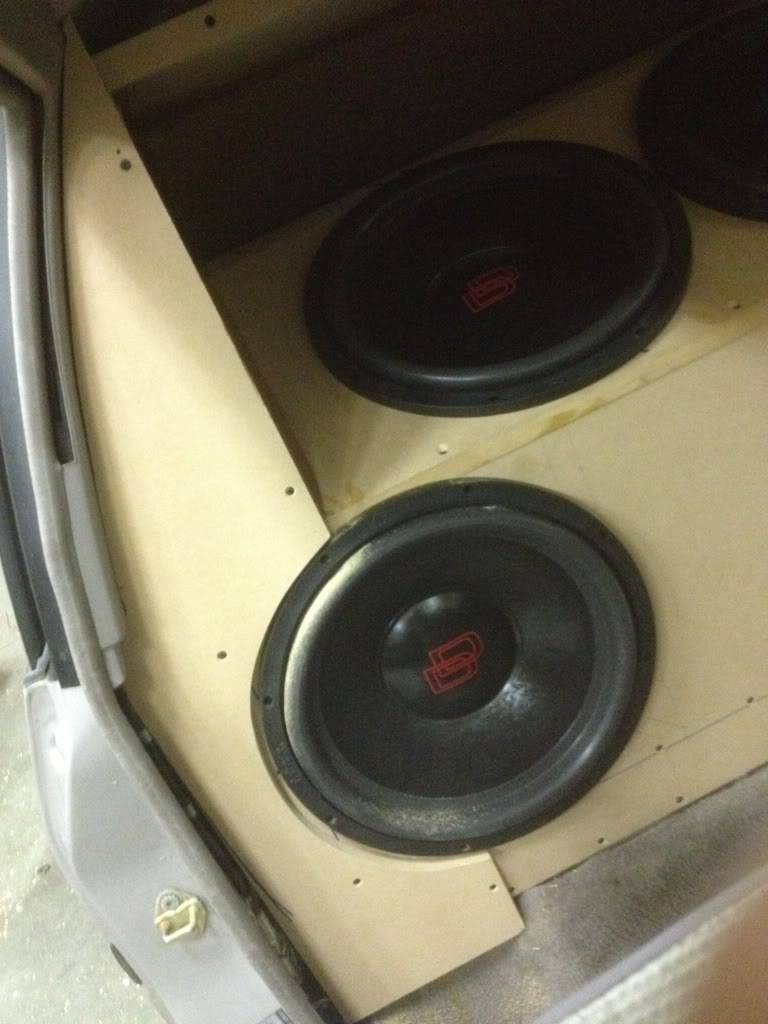
3 subs loaded.
Alas I forgot my 4th sub... so this is where it has to stay for the night. Lame...
But I think it looks pretty cool
Until next time...
ABob89- Posts : 71
Reputation : 0
Join date : 2011-10-12
Location : Vancouver WA -
![]()
![]()
Re: Abob89's 1991 Ford Escort
![]() by basshead92 Tue Jun 19, 2012 3:24 am
by basshead92 Tue Jun 19, 2012 3:24 am
basshead92- Posts : 465
Reputation : 12
Join date : 2011-10-20
Age : 32
Location : Fall City, Washington
![]()
![]()
Re: Abob89's 1991 Ford Escort
![]() by RidnClean Tue Jun 19, 2012 8:59 am
by RidnClean Tue Jun 19, 2012 8:59 am
I was in Vanc/Portland over the weekend.
nice work!
RidnClean- Posts : 126
Reputation : 4
Join date : 2011-10-09
![]()
![]()
Re: Abob89's 1991 Ford Escort
![]() by cnutt420 Tue Jun 19, 2012 2:27 pm
by cnutt420 Tue Jun 19, 2012 2:27 pm
cnutt420- Posts : 118
Reputation : 3
Join date : 2012-04-09
Age : 41
Location : moses lake
![]()
![]()
Re: Abob89's 1991 Ford Escort
![]() by ABob89 Wed Jun 20, 2012 4:57 am
by ABob89 Wed Jun 20, 2012 4:57 am
Initial impressions: I'm very impressed at the level of performance I'm getting on unworked subs, on an untuned amp with a wall that hasn't been properly sealed off from the cargo area yet. If I had to guess based on feel, I'd say 142ish. Now of course that doesn't mean squat till I prove it but I feel fairly confident about that.
Some of you may have noticed a lack of deadening materials going into the Escort. This has not been overlooked. My intent is to create a very fun car to watch. I want the car to shake to pieces for the time being. Makes for a good show IMHO. I will of course make the vehicle less 1990 ford-esque as time goes on.
I'll try and give you guys a video soon. Or you can just wait and see this on its maiden voyage through the lanes at the Streamline Audio show this weekend.
Rest assured you'll see more pics, and hopefully some videos, very soon.
Until next time...
ABob89- Posts : 71
Reputation : 0
Join date : 2011-10-12
Location : Vancouver WA -
![]()
![]()

splcb7- Posts : 432
Reputation : 17
Join date : 2011-10-09
Age : 39
Location : Bremertom -
![]()
![]()
6/20/12: IT GOES BOOM!!!
![]() by ABob89 Thu Jun 21, 2012 5:46 am
by ABob89 Thu Jun 21, 2012 5:46 am
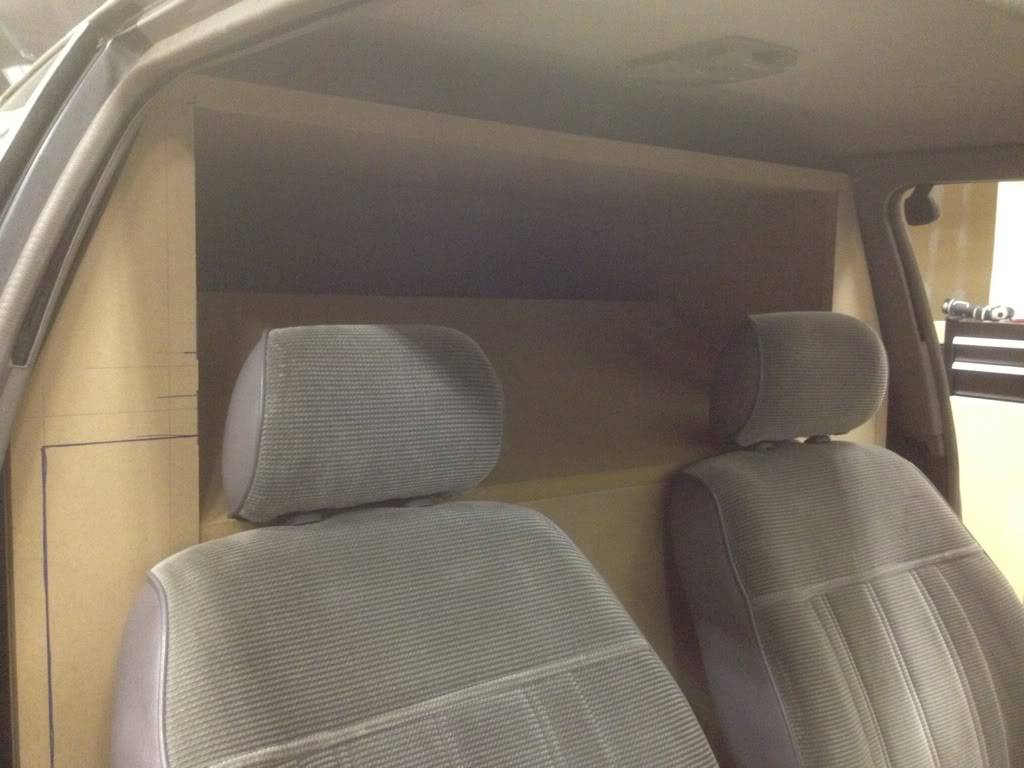
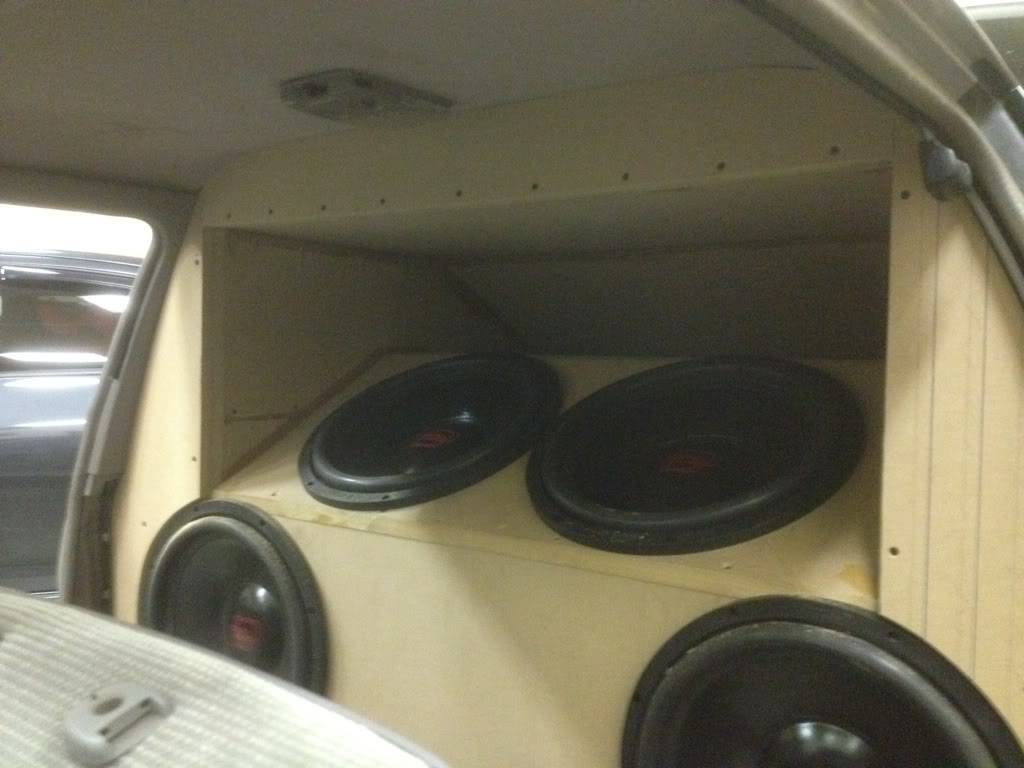
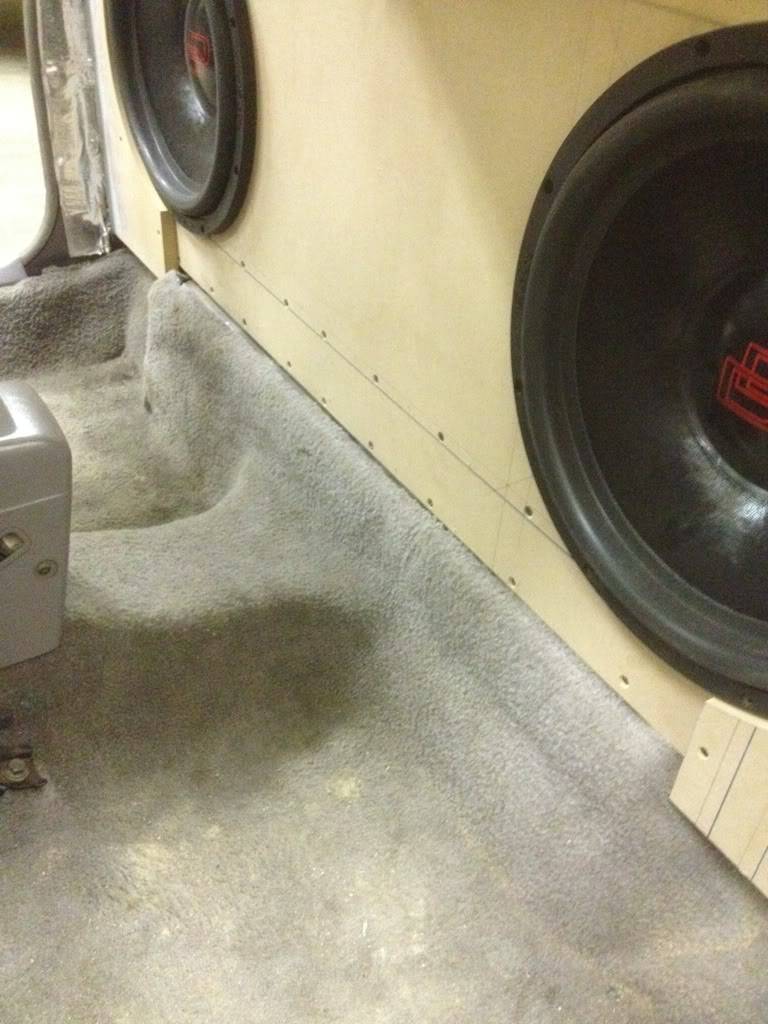
But I haven't been able to post any pics of everything assembled so I figured now would be just as appropriate as any. I did a little more work as well. I got to work on some paneling to seal off the cargo area from the cabin to reduce my cancellation I've been receiving since the subs started moving.

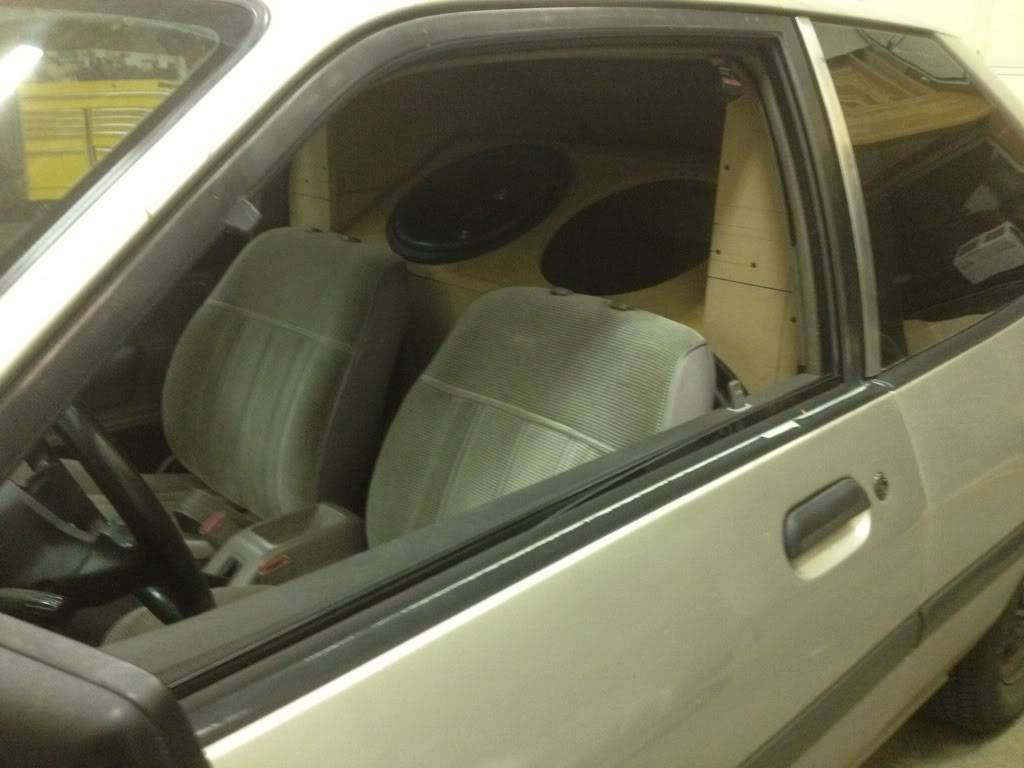
This was the scene on on Tuesday. I got the last woofer all loaded up and actually got to play with the subs (gasp)
I was very happy with them even then. It got loud enough to do a little damage to me and shake the hell outta the car. Massive roof flex. A definite contender for noise against Mr. Rattles (for those of you who are familiar with Greg Dixon's car).
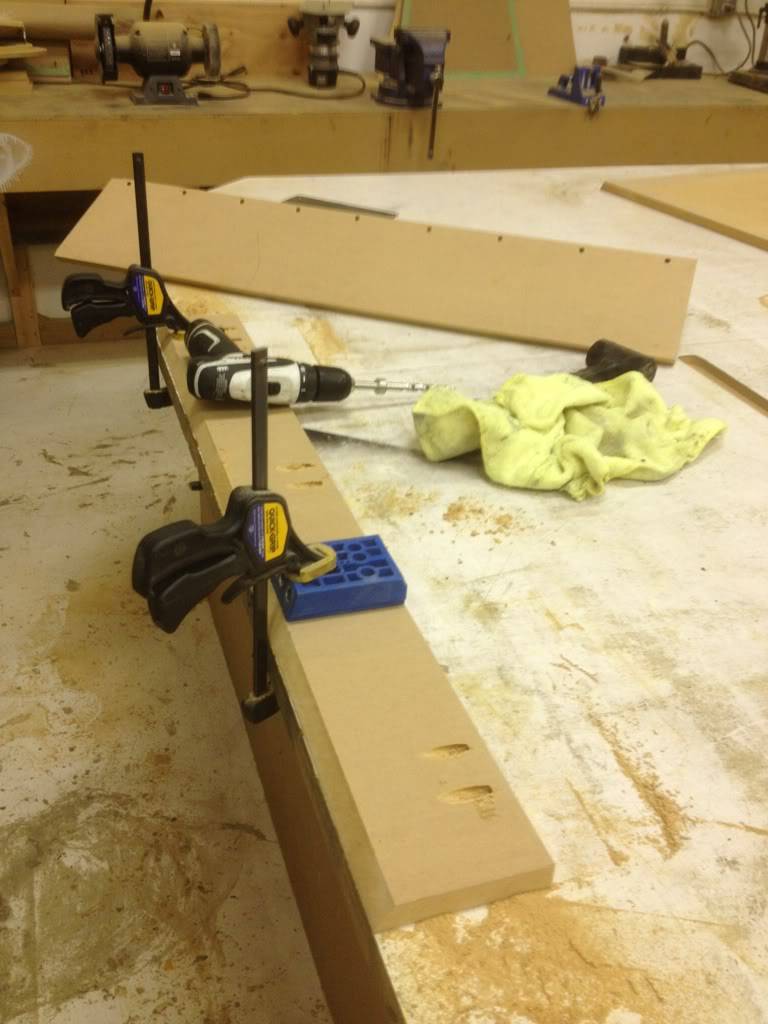
But, obviously, just having the wall back there isn't being used to anywhere near its full potential because of the massive cancellation from the cargo area. So it was off to the wood shop to start fabbing up some trim that could be used to seal off the cargo area.

Here's my first template. Now I will scream my flaw out now... I just jigsawed the woofer edges. So they're a little uneven (hangs head in shame).
No trim.
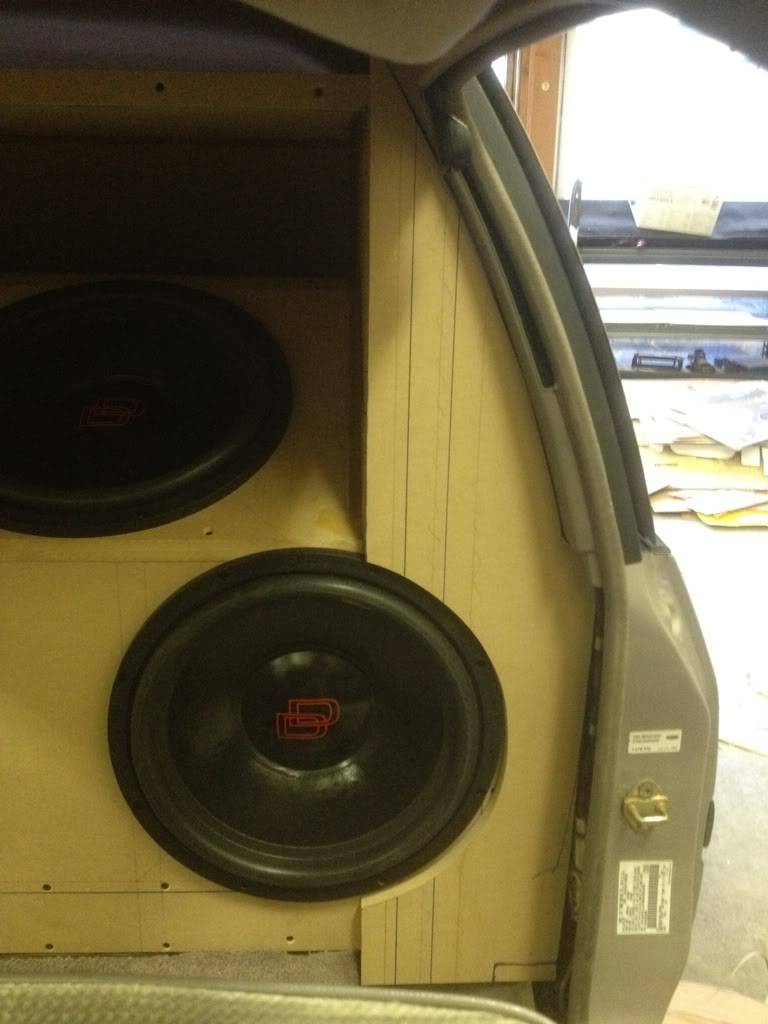
Yay, trim!
Screwed into place
And the passenger side template.
New trim panel.
And screwed in also.
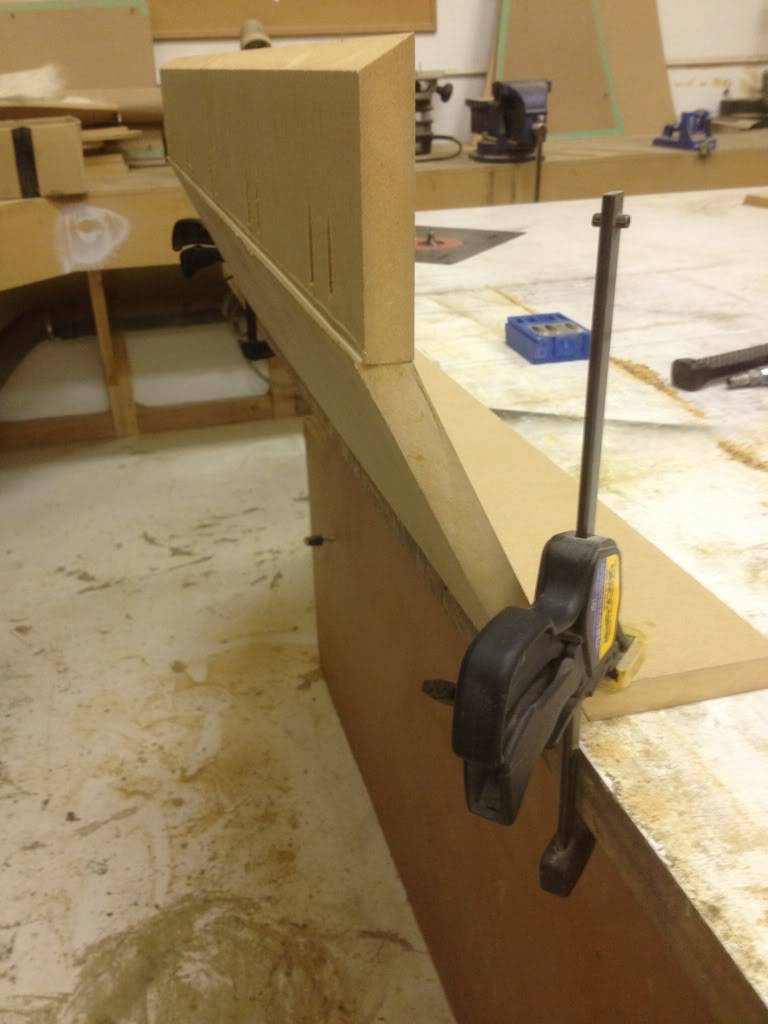
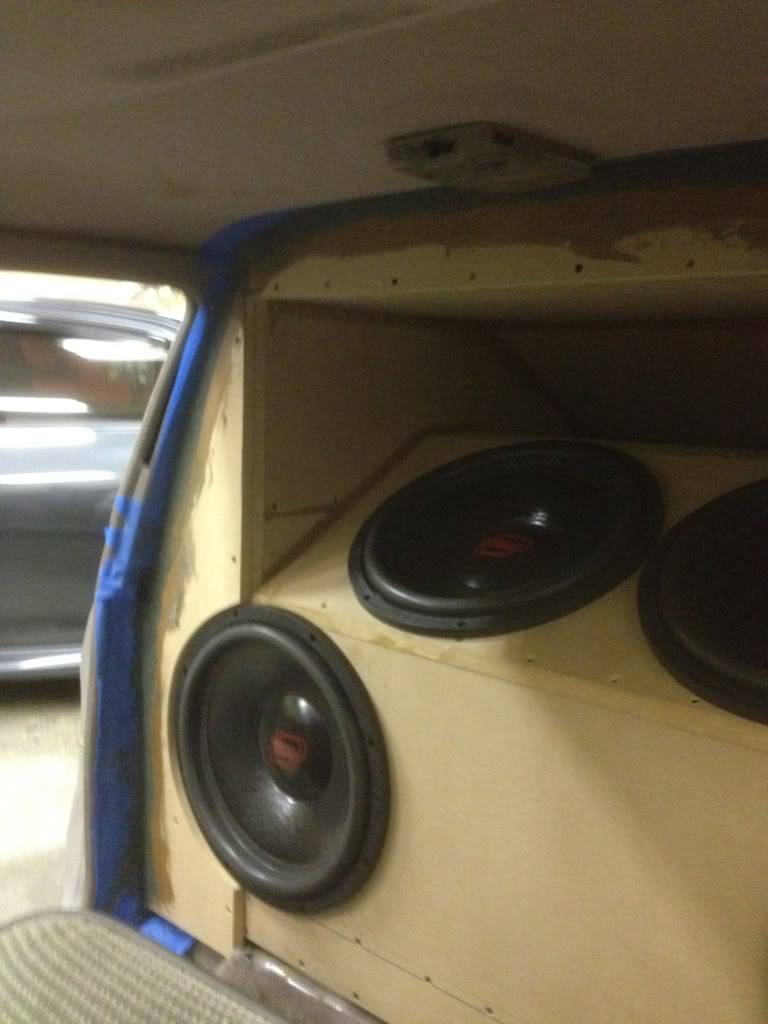
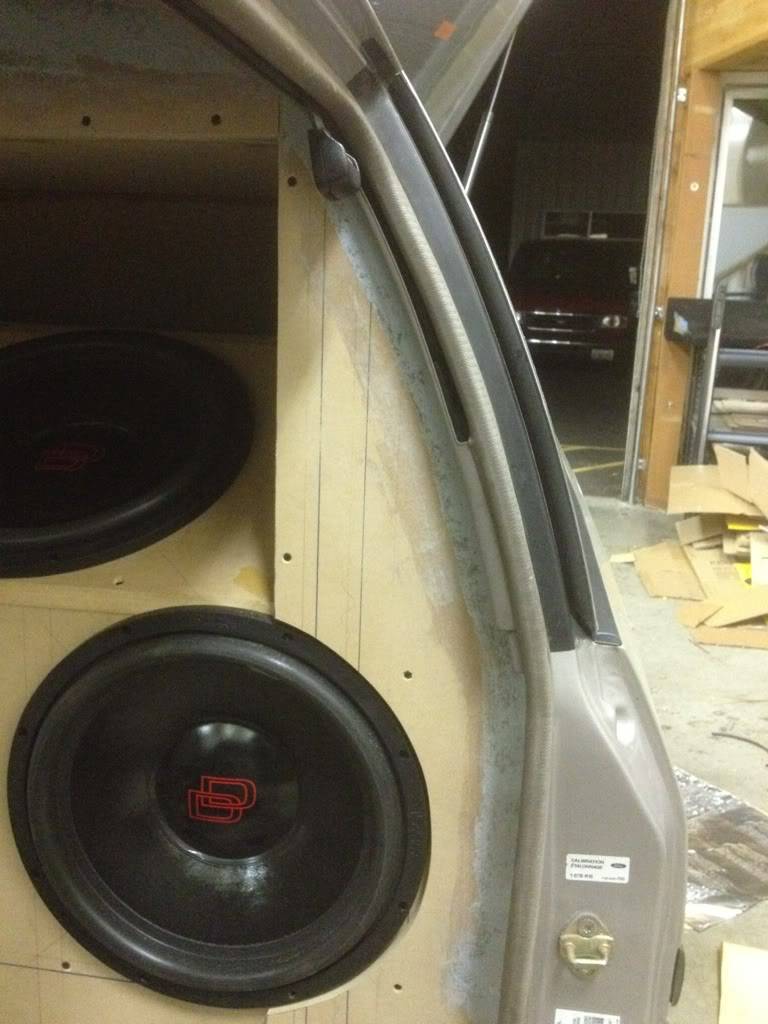
The top of the wall has a huge gap! So this panel will be doubly effective, it will seal the car and act as a brace quite nicely for the roof.
Blam-o! Looks fairly nice. Nothing sexy but it will be effective. Alas there are gaps where the trim couldn't reach so I'll be using long hair fibreglass to fill the voids.

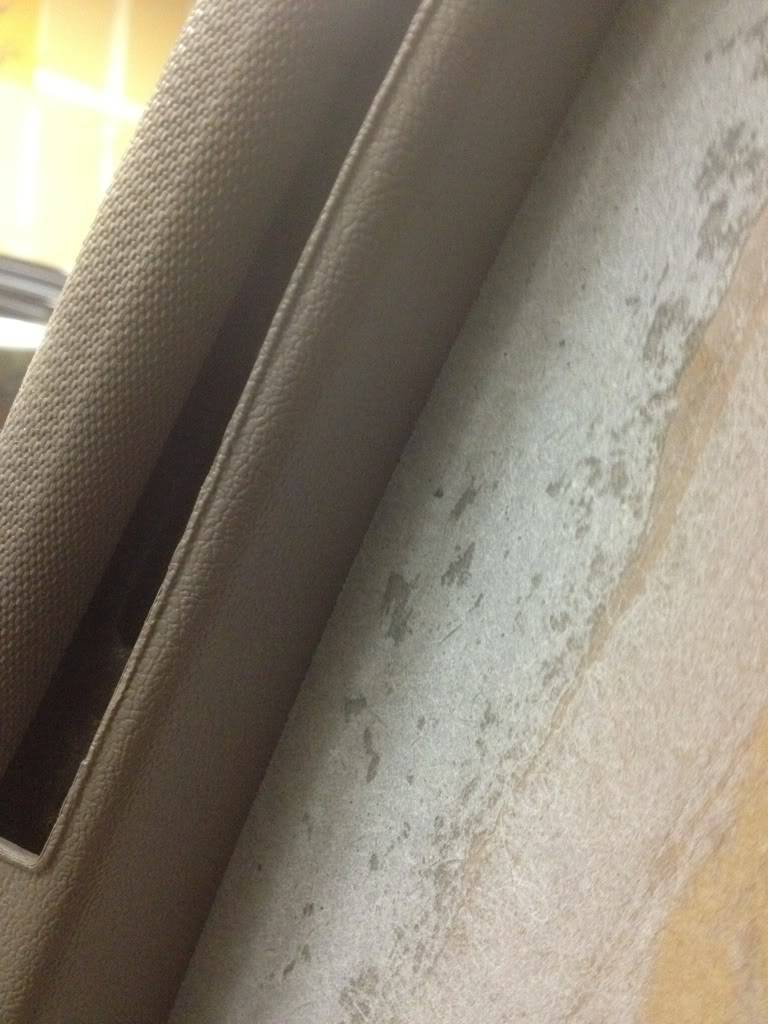
So I started pulling off the trim panels and masked off the car. The long hair will be placed in between the gaps to fix the cancellation issues.
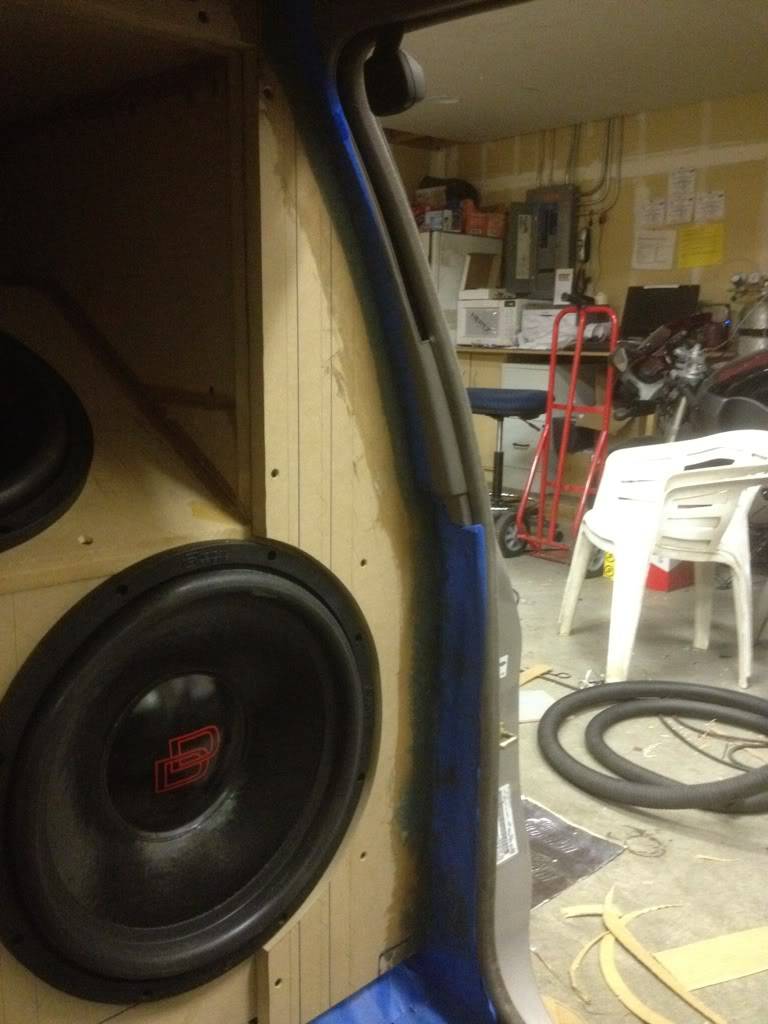
Zesty no?
Then I got the other panels glassed.
New trim after a little sanding.
I'd say that creates a nice solid line, wouldn't you?
I'm fairly happy with this part. I will need to gasket these panels or perhaps silicon them into place. The bottom of the wall is also still open so I still have more work to do.
It looks nice for tonight though. Upon another listen... OH MY GAWD!!! So much better!!! I can really ruin myself now hahahaha. The roof flex is a little better too. I feel much higher than the 142 I felt like before hand. We'll see though.
Hopefully I'll get to finish the trim tomorrow evening. Thanks for checkin' out the build once again guys.
As always...
Until next time!!!
ABob89- Posts : 71
Reputation : 0
Join date : 2011-10-12
Location : Vancouver WA -
![]()
![]()
RidnClean- Posts : 126
Reputation : 4
Join date : 2011-10-09
![]()
![]()
Re: Abob89's 1991 Ford Escort
![]() by ABob89 Thu Jun 21, 2012 12:35 pm
by ABob89 Thu Jun 21, 2012 12:35 pm
I feel like the wall guys are under extra scrutiny. This is also my first wall build ever and I wanna make sure I don't have to redo it
ABob89- Posts : 71
Reputation : 0
Join date : 2011-10-12
Location : Vancouver WA -
![]()
![]()
Re: Abob89's 1991 Ford Escort
![]() by cnutt420 Thu Jun 21, 2012 3:07 pm
by cnutt420 Thu Jun 21, 2012 3:07 pm
cnutt420- Posts : 118
Reputation : 3
Join date : 2012-04-09
Age : 41
Location : moses lake
![]()
![]()
6/22/12: Last update before the Streamline Show
![]() by ABob89 Sat Jun 23, 2012 2:54 am
by ABob89 Sat Jun 23, 2012 2:54 am
Bottom just looks unfinished compared to the sides and top.
Got the first bottom trim in.
And second side.
I can't wait to show it off on the show this weekend. Hope to see all of you there. I wanna see what you guys think.
ABob89- Posts : 71
Reputation : 0
Join date : 2011-10-12
Location : Vancouver WA -
![]()
![]()
Re: Abob89's 1991 Ford Escort
![]() by basshead92 Sat Jun 23, 2012 3:02 am
by basshead92 Sat Jun 23, 2012 3:02 am
time to get some good footage of it too
basshead92- Posts : 465
Reputation : 12
Join date : 2011-10-20
Age : 32
Location : Fall City, Washington
![]()
![]()
Re: Abob89's 1991 Ford Escort
![]() by ABob89 Sat Jun 23, 2012 3:04 am
by ABob89 Sat Jun 23, 2012 3:04 am
We'll see man. I'ma be happy to see a 145dB score. These are just Digital Designs 500 series woofers and I'm running about 2300 watts. So it's a pretty low power system. I bet if I had gone straight for some 2500's and an M4a I could've gotten a drop in 150 but we'll see.
The 500's are the absolute entry level woofer. Bottom rank. So it would be way cool to see a near 150 outta woofers that cost less than $170 a pop.
@ Basshead92
That'd be great to pop some footage.
ABob89- Posts : 71
Reputation : 0
Join date : 2011-10-12
Location : Vancouver WA -
![]()
![]()
Re: Abob89's 1991 Ford Escort
![]() by ABob89 Sun Jun 24, 2012 9:57 pm
by ABob89 Sun Jun 24, 2012 9:57 pm
Advanced 2 Class - IASCA
I scored a 145.3 @ 33Hz.
Not bad at all. I get to compete against Mr. Akins hahaha. 12 12"s against 4 15"s... meh. I can take him
Just gimme some time. I'll tell people I got 2nd place today... and neglect to mention it was out of 2 lol
Oh and Luke,
Thanks for takin' a little footage of the Escort.
ABob89- Posts : 71
Reputation : 0
Join date : 2011-10-12
Location : Vancouver WA -
![]()
![]()
Page 2 of 3 • ![]() 1, 2, 3
1, 2, 3 ![]()
![]()

 Similar topics
» Elizabeths 2008 Ford Edge Sundown Build
» Here's a video of Davids Ford Exploder ! check it out ! watch it in HD !
» May 17th Corvallis OR show at Audiofiles- Jerry's Ford Fiesta - 2 AB HD 12s - DD Z-SE
» here is a Preview video of ben akins ford explorer sport with 12 12's in a 4th order !
|
|
|